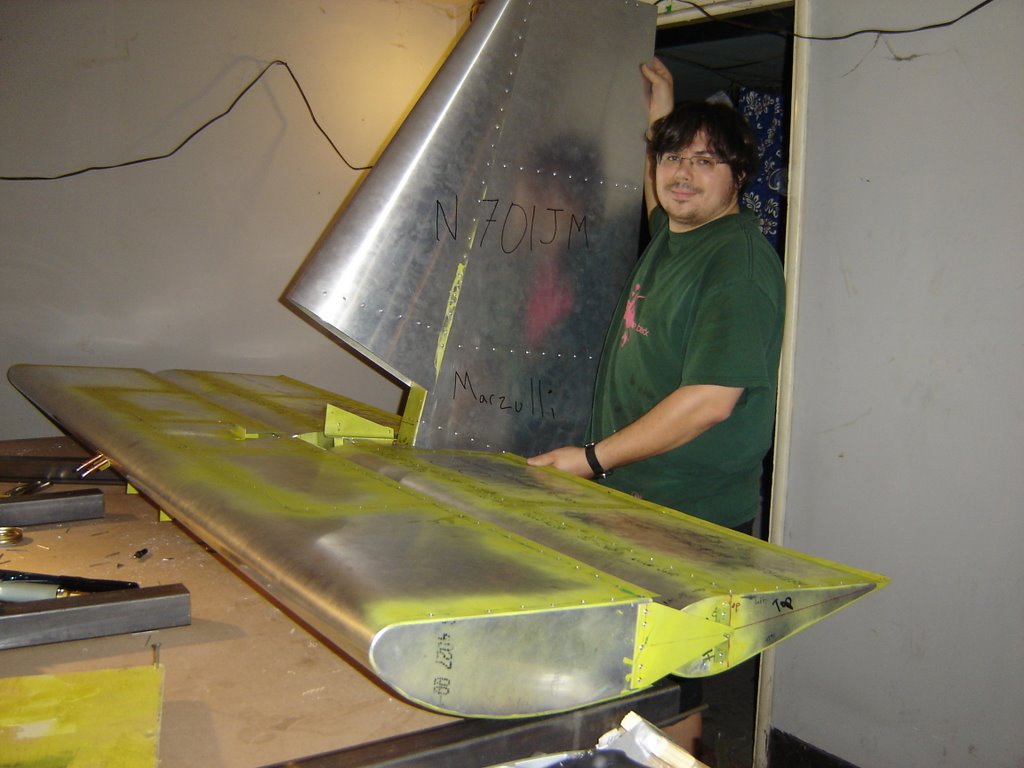
Finally some time to work on the project....
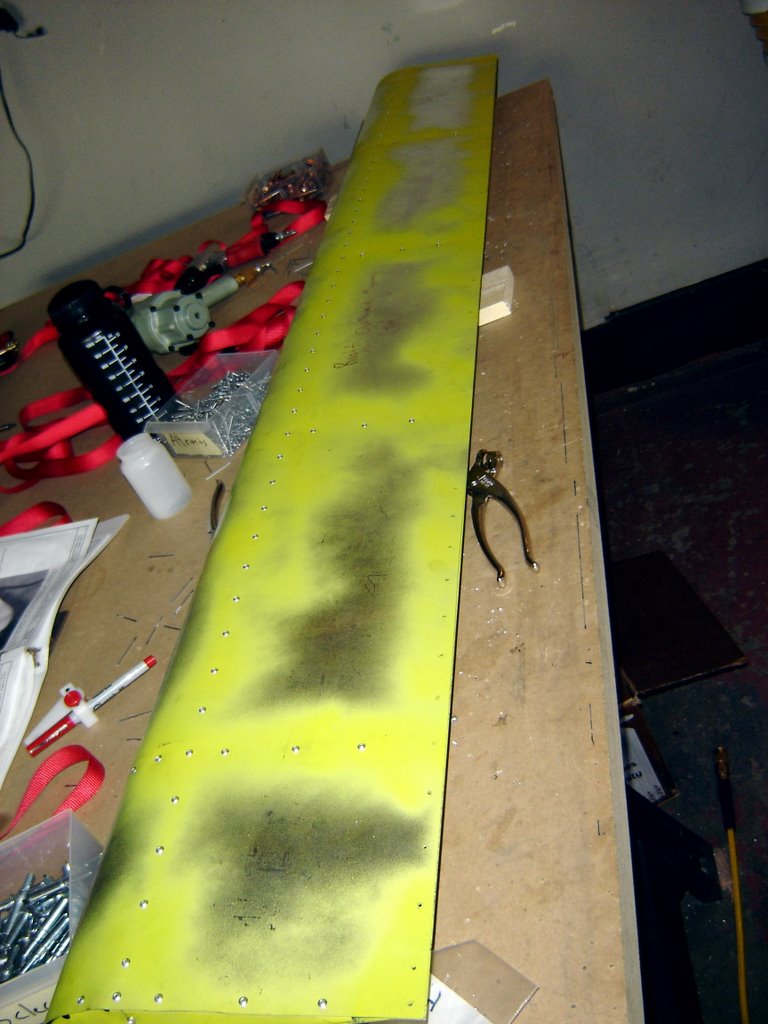
We spent about two hours. The first hour and a half was spent figuring out the best way to get the flaperon brackets consistently placed. The end result was using some extrusion clamped to the top of the rib, then using some "L" angle to hold the bracket to the rib. The ends of the brackets were all made flush with the end of the rib.
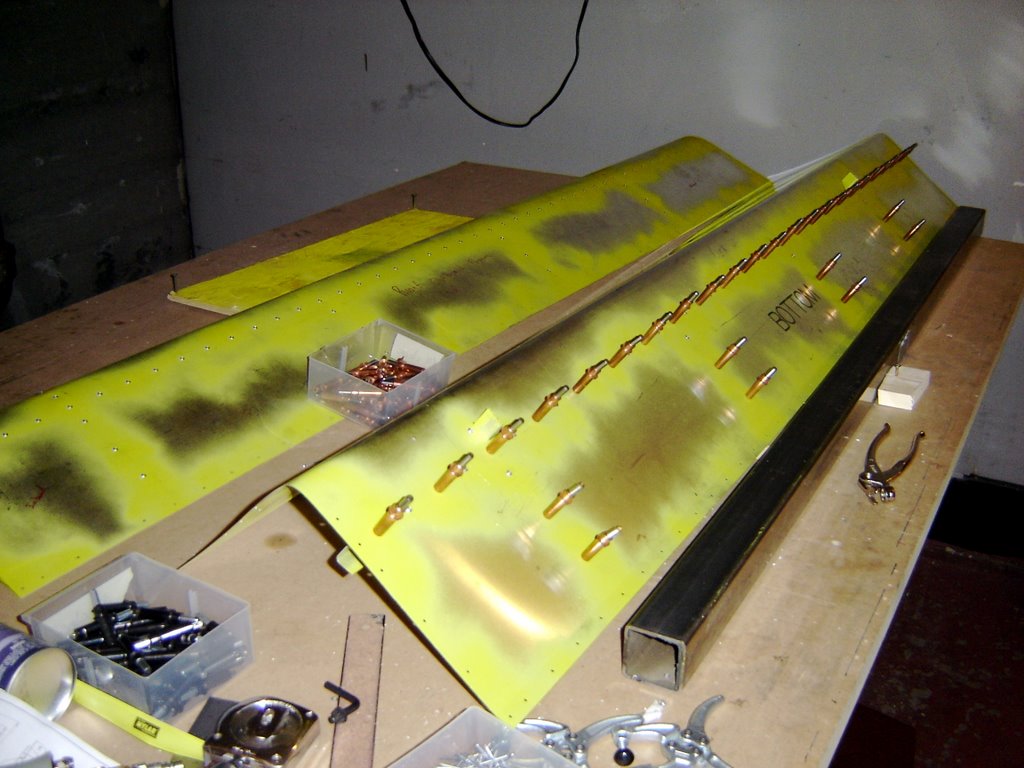
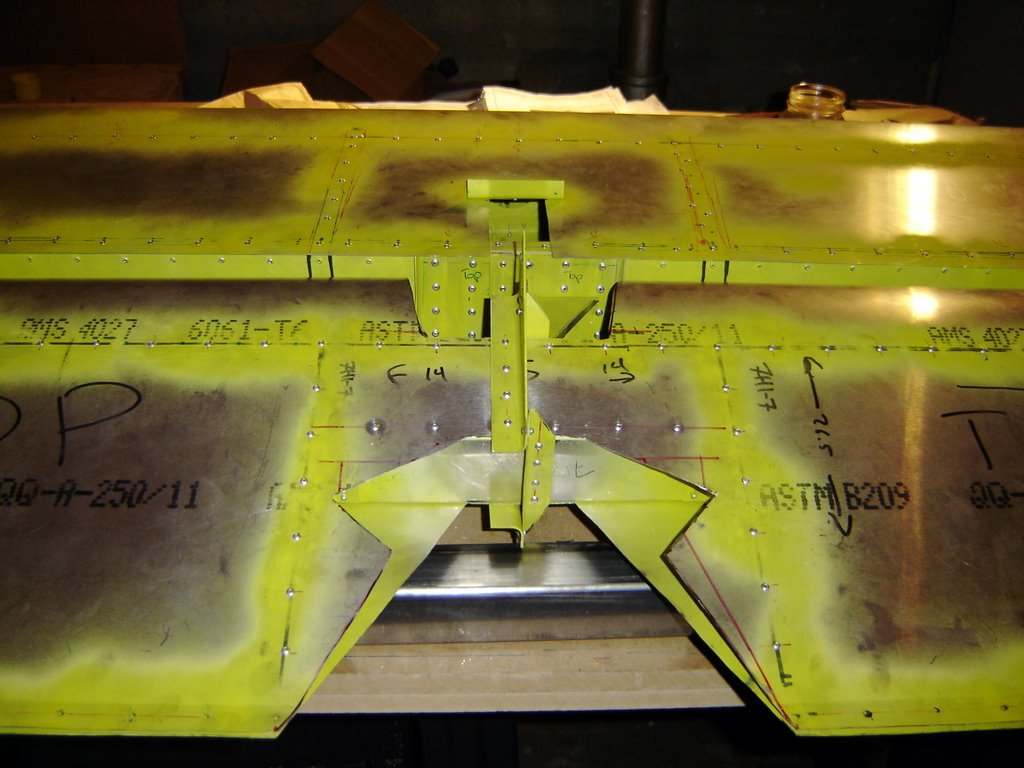
I'm not sure how I got into this position in the first place. I drew out the rivet lines on the spar and channel, and the pre-drilled holes of the skin line up perfectly.
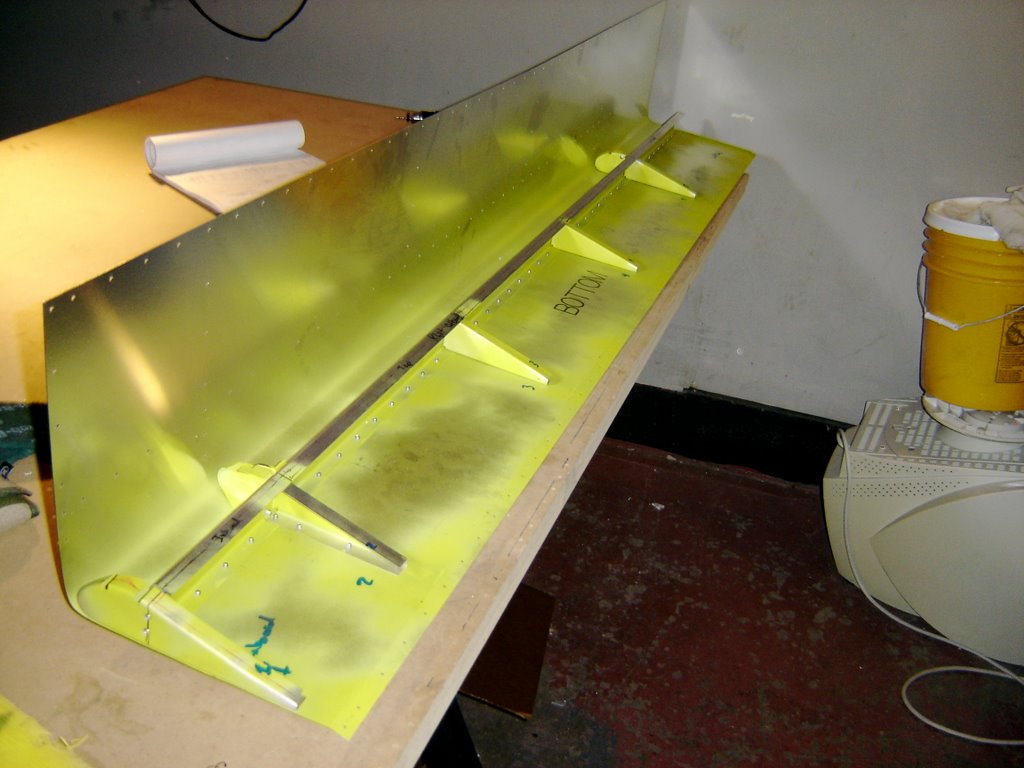
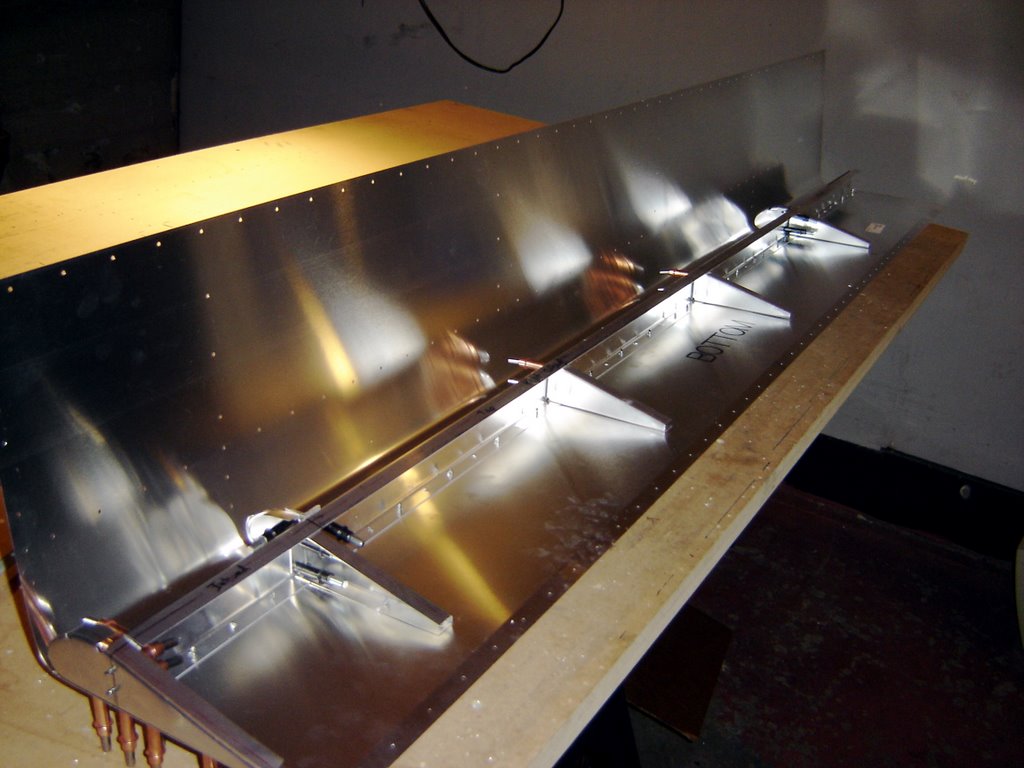
But as always, progress must be stopped. I believe that the 7V7-4 supplied with my wing kit may be mal-formed.
Basically making a mark 41mm from the 115mm mark to the right is past the piece. Making the 41mm mark to the left doesn't look right
The instructions in the manual are somewhat confusing, so I would be happy to find out I mis-interpreted them.

 Project Status:
Wings: 38.5h ( 1h, 1h, 0.5h, 2.5h, 4h, 1h, 1.5h, 1h, 1.5, 4.5, 1h, 1h, 2h, 4h, 1h, 3h, 1h, 2h, .5h, 1.5h, 2h, 2h )
Flaperons: ( DONE! ) 23.5 hours spent ( 3h, 1h, 1h, 1h, 1.5h, 3h, 6h, 3h, 4h, 1h )
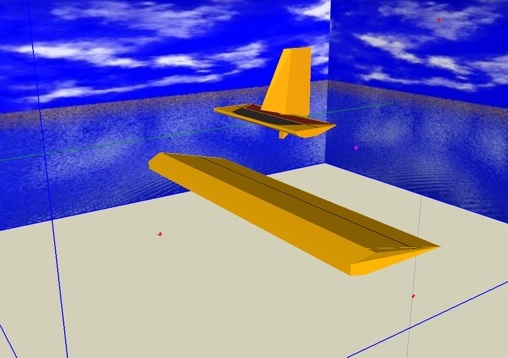
Paint Design: 2 hours spent ( 1h, 1h )
Elevator DONE!: ~31.5 hours spent ( 3h, 1.5h, 3h, .5h, 3.5h, 2h, 4h, 1.5h, 2h, 4.5h, 1h, 6h )
Horizontal Stabilizer DONE!: ~28 hours spent, 3 pieces replaced ( 3h, 2h, 2h, 2h, .5h, 1.5h, 3.5h, 1.5h, 5, 4.5, 2h, .5h )
Rudder DONE!, minus horn : ~16 hours spent, ( ~8h, ~8h )
-----------------------
Total Done: ~141 hours