Saturday, July 29, 2006


Has anyone had the following problem?

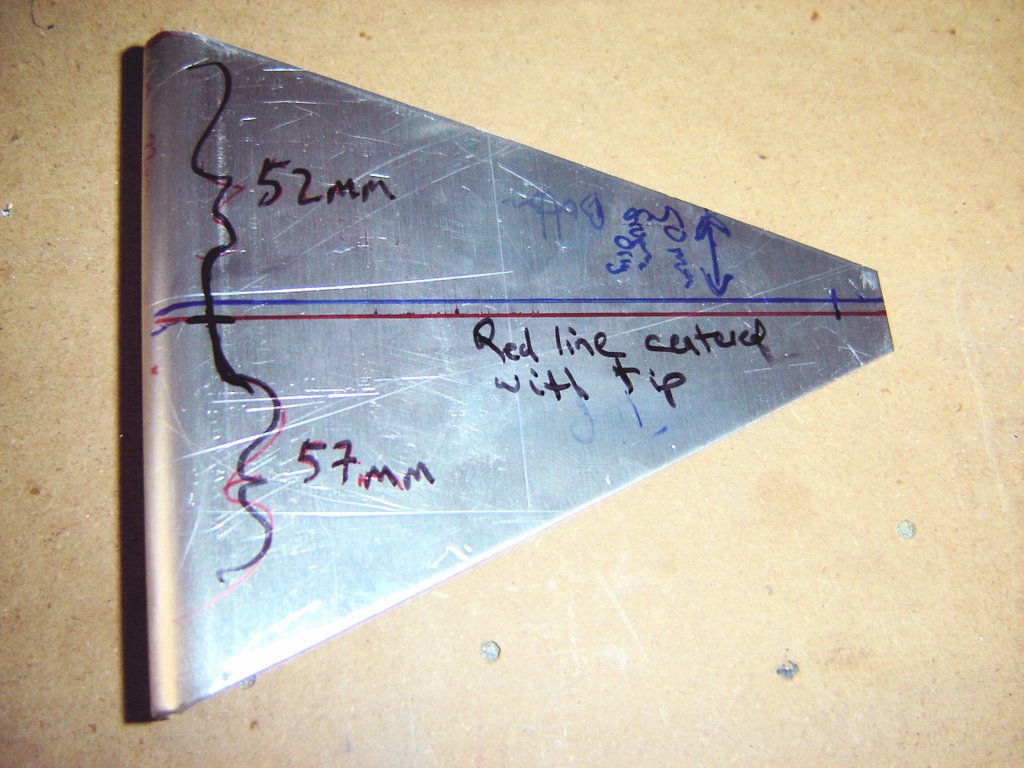
I'm starting my elevator/stab hinges and noticed a difference between the builder's manual, the plans and the manufactured piece supplied by Zenith concerning the Center Hinge Bracket ( 7H3-3SP ).

Using the plans I measured 50mm into the flange to make a mark to draw the perpendicular line. This line was off center with the bracket tip by about 2mm. The builders manual states that the line should be centered with the tip.

When tried to figure out why this was and I realized that the flange was 109mm in length, not 107mm as stated in the plans.

Since these measurements are enclosed by boxes on the plans, I assume they are critical, especially since being off will cause problems with the elevator's movement.

Is it better to use the tip center to determine the line knowing that one side of the piece was manufactured 2mm to long, possibly grinding down that side? ( my guess )

Or would it be better to use the line drawn 50mm in? ( seems like that would weaken the hinge )

Update 1: I think that the piece was cut wrong AND that the flange was bent in the wrong direction.

Update 2: Zenith is sending me a new piece. Thanks to Caleb and Nick for their support.
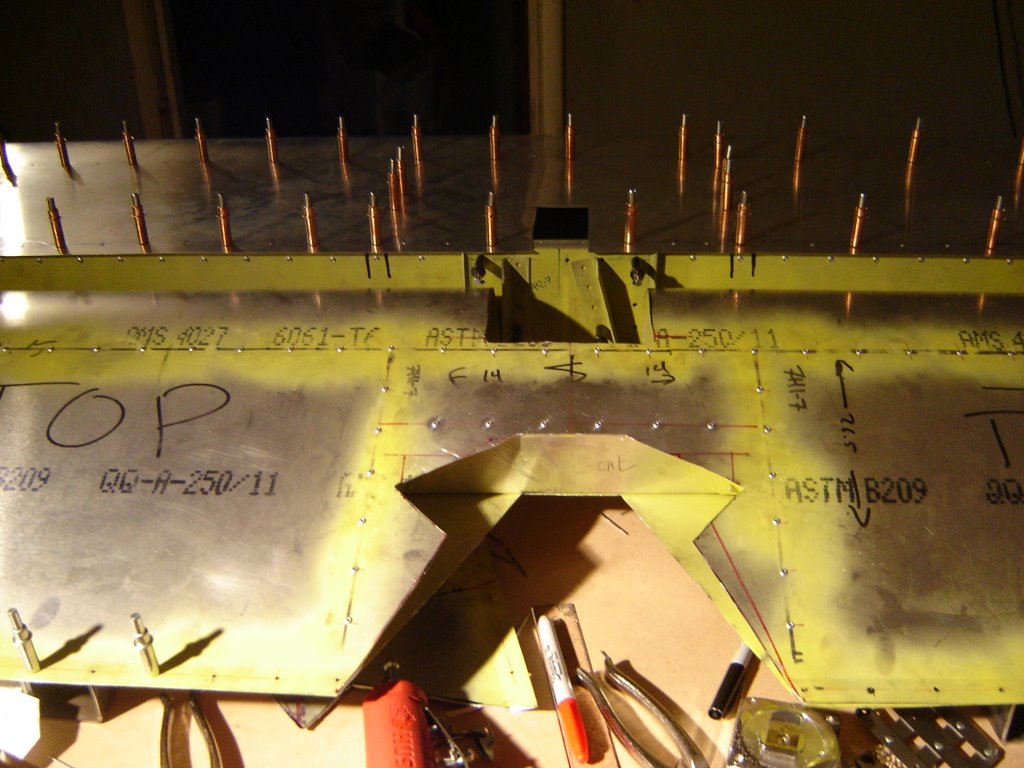
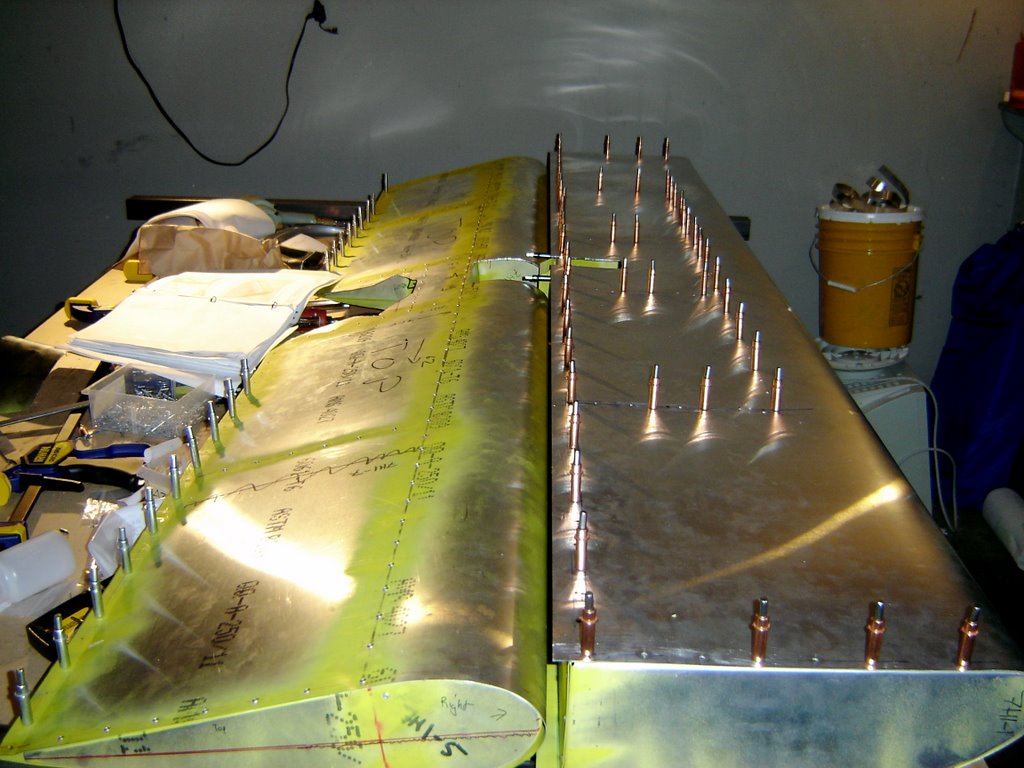
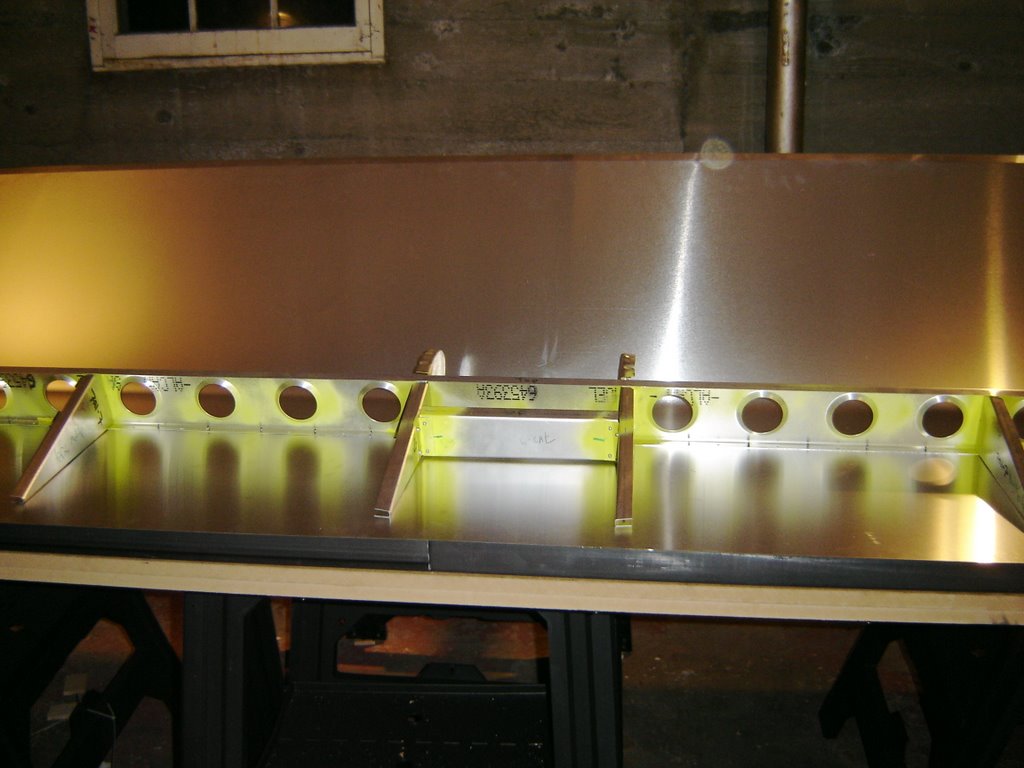
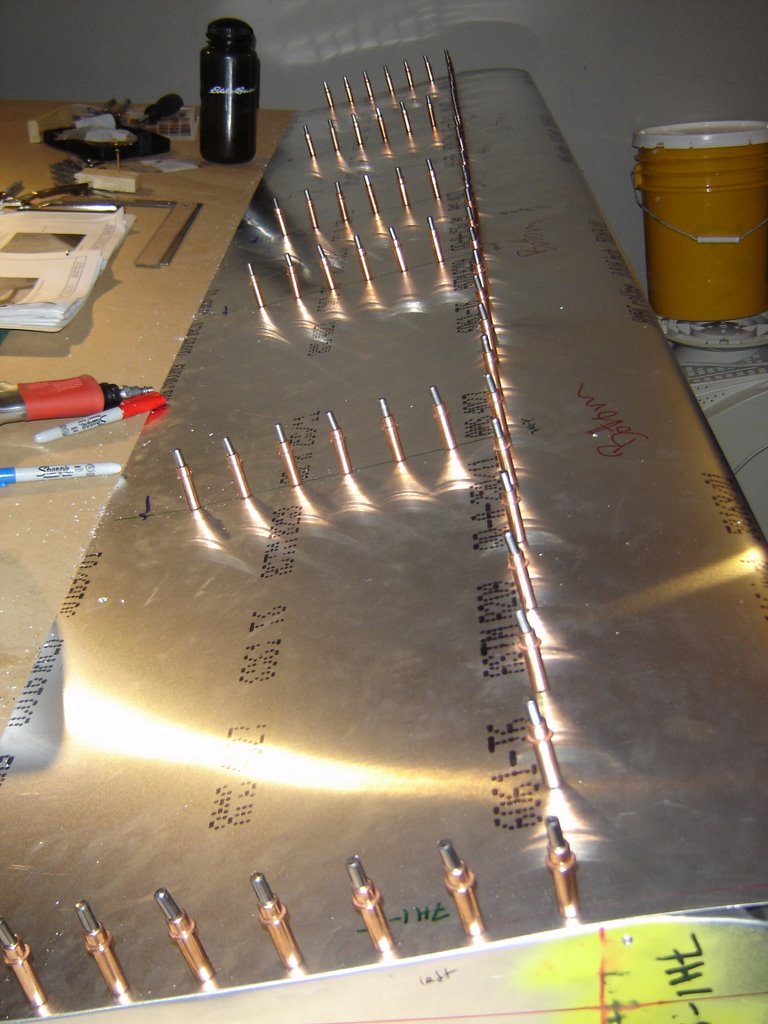
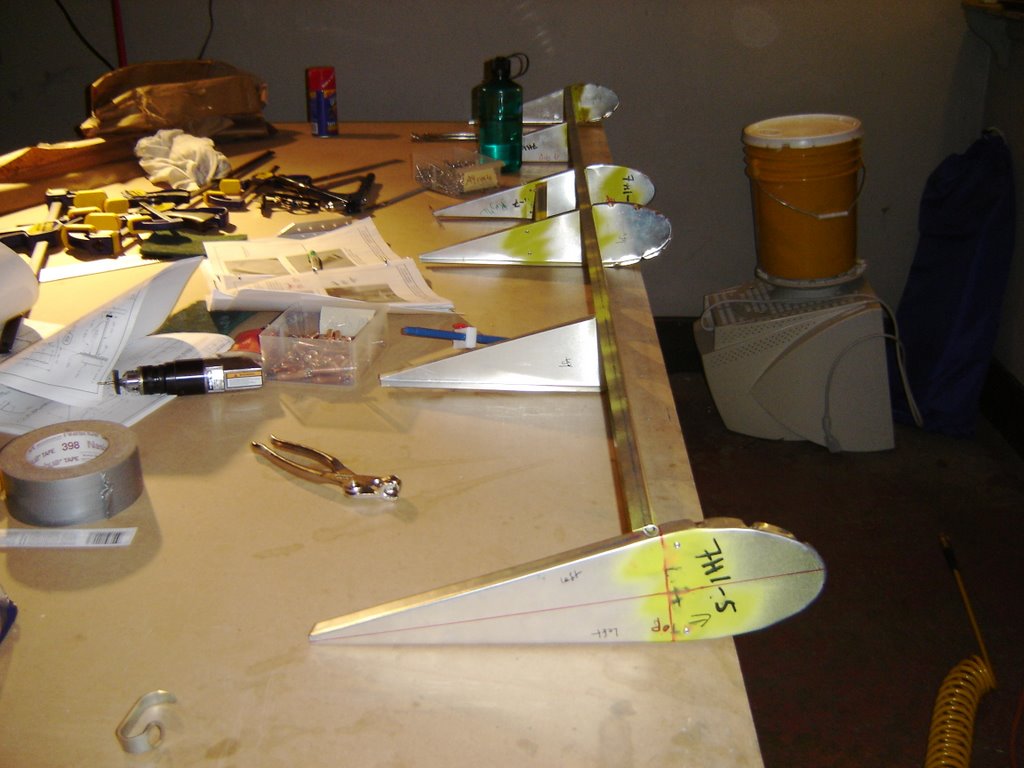
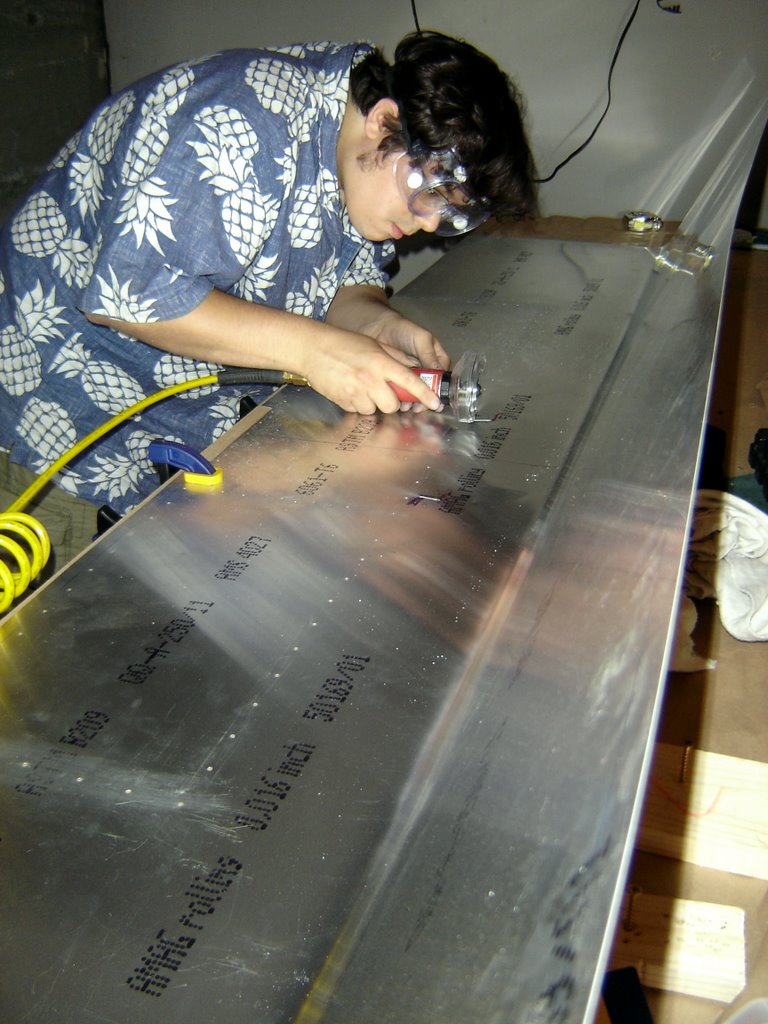
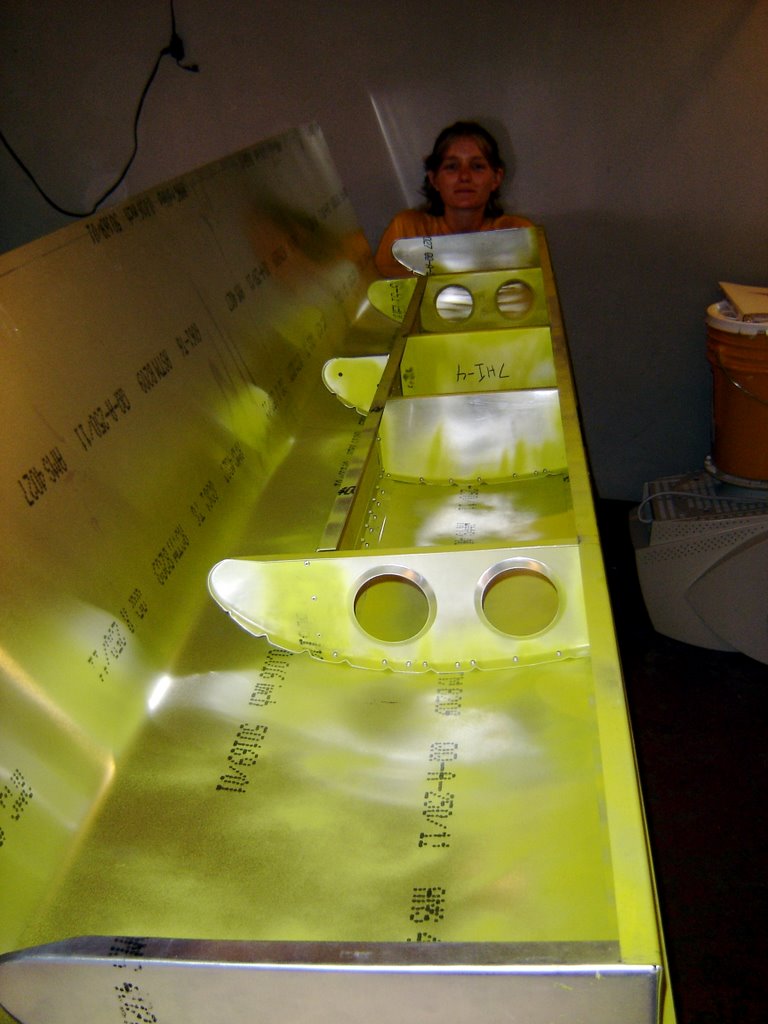
Project Status:
Elevator: ~20 hours spent ( 3h, 1.5h, 3h, .5h, 3.5h, 2h, 4h, 1.5h, 2h )
Horizontal Stabilizer: ~28 hours spent, 3 pieces replaced ( 3h, 2h, 2h, 2h, .5h, 1.5h, 3.5h, 1.5h, 5, 4.5, 2h, .5h )
Rudder Done, minus horn : ~16 hours spent, ( ~8h, ~8h )
-----------------------
Total Done: ~65 hours

Wednesday, July 26, 2006

Never fly anything that has a skull and cross bones on it that takes up, oh lets say 50% of the craft.

Tuesday, July 25, 2006

So Cessna has finally shown their LSA concept. If it is brought to market at a reasonable price, lets say ~$60k to $80k, then this plane could be a real winner.

First lets start with a list of cons.
  • Cessna is not the cheapest company around. Cirrus offers a better airplane in the SR-20 for about the same price as a new 172. My guess is that Cessna will opt for the certified version of the Rotax 912, and that will sadly add $10k to $20k
  • This plane also has a castering nose wheel, which makes me question the ground handling. A steerable nose wheel is a must for any plane that will serve as a primary trainer.
  • Strength. Those main landing gear supports look wimpy. Once again this plane will be used as a primary trainer, so strength is key.

Now for the good stuff.
  • A 100HP Rotax 912. Hurray. The rotax is a much nicer engine than the O-200 or O-235. Better fuel economy, less noise, less vibration.
  • The styling is great. It has the sleek look of the early fastback 150's without the visibility problem.
  • 6" inches wider than a 152? Sign me up?
The styling is really something. It reminds me of a Glastar and an early 150. The wings are raised above the cabin in the same way as the CH701.

My first hours as a student were in a 150. I got my ASEL ticket in a 152. I own a 150. The two seat Cessna has a special place in my heart due to it's docile handling, brainless landings and simplicity.


The source story and picture are from Aero-Net news.

Saturday, July 22, 2006

Friday night we met a nice couple who are building a Murphy Moose. Normally it wouldn't be too odd of a conversation, but we met them at a live show of The Prarie Home Companion at the St. Michelle Winery in Woodinville.

Saturday was a marathon of building. First fours hours were spent drilling the top skin, deburring and zinc chromating and then riveting the elevator shut.

The next build session focused on cutting out the required sections of the elevator for clearance of the hinges, rudder, ect.

In total Saturday saw 5.5 hours of building.

Now the mounting brackets need to be positioned, drilled and riveted. My guess is eight hours or less.

Zenith announced a new cowl for the 701. It looks fairly sleek, not something you would normally associate with the bird. I do wonder if this cowling provides enought cold air to get the full 100HP out of the 912s.


Project Status:
Elevator: ~18 hours spent ( 3h, 1.5h, 3h, .5h, 3.5h, 2h, 4h, 1.5h )
Horizontal Stabilizer: ~28 hours spent, 3 pieces replaced ( 3h, 2h, 2h, 2h, .5h, 1.5h, 3.5h, 1.5h, 5, 4.5, 2h, .5h )
Rudder Done, minus horn : ~16 hours spent, ( ~8h, ~8h )
-----------------------
Total Done: ~63 hours

Thursday, July 20, 2006

Something non-aviation related for once.


I snuck away during lunch to get current again for my Aircraft Single Engine Sea rating. N9666P was my ride for 1.2 hours.

Has anyone else noticed in their log books how often 1.2 hours is entered???

Anyway, I had never flown 66P before. It only has 150HP ( compared to 0CC's 180HP ) and the floats were different. The ride was fine, but finding the step was much harder with this plane. The floats were a different design ( Edo? ), so that was the first factor. It also was a warm day and the water was slightly rough so feeling for the magic moment was harder with the pounding of the waves.

When it comes time to order floats I will have to track down someone local with the Zenairs so I can get a good idea of their handling.

Wednesday, July 19, 2006

Another two hours spent on the elevator. We pre-drilled the top of the skin in key spots, ratcheted everything down matched up the lines and drilled into the spar before stopping. No major goofs, although the drill line for one of the ribs was moved over a few millimeters.

Incidentally we got our first noise complaint... from an elderly lady... at 11pm... who could hear us drilling in her living room... from a block away.

Project Status:
Elevator: ~12.5 hours spent ( 3h, 1.5h, 3h, .5h, 3.5h, 2h )
Horizontal Stabilizer: ~28 hours spent, 3 pieces replaced ( 3h, 2h, 2h, 2h, .5h, 1.5h, 3.5h, 1.5h, 5, 4.5, 2h, .5h )
Rudder Done, minus horn : ~16 hours spent, ( ~8h, ~8h )
-----------------------
Total Done: ~57.5 hours

Sunday, July 16, 2006

I shot this movie back in March while taking the rudder workshop at Quality Sport Planes.

Saturday, July 15, 2006

We spent three and one half hours skinning the bottom of the elevator ( aka "the flipper" as "Stick and Rudder" calls it ). This was a much easier process than the stabilizer. The skin fit perfectly and the pre-drilled holes we made matched the rib flanges.

Deburring took place, but on the steel beems I bought on Friday.

Next comes measuring out and pre-drilling holes on the top of the elevator which will be much harder to do without de-clecoing everything... again.

I found a used copy of "Stick and Rudder" at a book store on Phinney Ridge. I'm not sure if I completely agree with the way the description of how a wing works, but for a new pilot it may take some mystery out of stalls, climbs and landings.


Project Status:
Elevator: ~11.5 hours spent ( 3h, 1.5h, 3h, .5h, 3.5h )
Horizontal Stabilizer: ~28 hours spent, 3 pieces replaced ( 3h, 2h, 2h, 2h, .5h, 1.5h, 3.5h, 1.5h, 5, 4.5, 2h, .5h )
Rudder Done, minus horn : ~16 hours spent, ( ~8h, ~8h )
-----------------------
Total Done: ~55.5 hours

Friday, July 14, 2006

We spent about 30 minutes securing the elevator skeleton to the table. I also bought 2"x2" steel square tubes like those shown in the directions. I acquired six, five feet each, and two of two feet each in length. What I thought would be a quick drive turned into a nightmare of traffic in rural Snohomish county, at least 15 minutes further than I thought. For future reference Whiteside steel has 6061-t6 aluminum in small sheets and various extrusions.


Project Status:
Elevator: ~8 hours spent ( 3h, 1.5h, 3h, .5h )
Horizontal Stabilizer: ~28 hours spent, 3 pieces replaced ( 3h, 2h, 2h, 2h, .5h, 1.5h, 3.5h, 1.5h, 5, 4.5, 2h, .5h )
Rudder Done, minus horn : ~16 hours spent, ( ~8h, ~8h )
Workshop Done: ~8 hours

Thursday, July 13, 2006


We now have a riveted elevator skeleton! We spent three hours drilling the tip ribs into place along with making the elevator channel brackets and drilling those together.

Deburring and zinc chromate followed... then came the riveting.

I found that there are some pieces that are just impossible to rivet together without using the hand riveter. The half nose ribs are an example. Now I need to get some steel beams together so the skinning can start. With any luck Saturday can be spent skinning and then the rest of the week can be spent on the bracketry.

With at least three weeks until the flaperons and slats arrive I need to figure out what to do with my down time... besides crunch at the office.

Project Status:
Elevator: ~7.5 hours spent ( 3h, 1.5h, 3h )
Horizontal Stabilizer: ~28 hours spent, 3 pieces replaced ( 3h, 2h, 2h, 2h, .5h, 1.5h, 3.5h, 1.5h, 5, 4.5, 2h, .5h )
Rudder Done, minus horn : ~16 hours spent, ( ~8h, ~8h )
Workshop Done: ~8 hours

Wednesday, July 12, 2006

We spent about 1.5 hours last night drilling the front ribs into place and measuring and positioning the tip ribs.

There was some confusion over how to drill the holes for the tip ribs. Nick from Zenith suggested drawing the flange line out onto the outboard side of the rib and measuring from there. He also told me that drawing 7H3-2 holds the edge distance for the A5 holes that go below it.

While I was talking to Zenith I went ahead and ordered the flaperon and slat kit. It will take about five weeks to get to our workshop.

Project Status:
Elevator: ~4.5 hours spent ( 3h, 1.5h )
Horizontal Stabilizer: ~28 hours spent, 3 pieces replaced ( 3h, 2h, 2h, 2h, .5h, 1.5h, 3.5h, 1.5h, 5, 4.5, 2h, .5h )
Rudder Done, minus horn : ~16 hours spent, ( ~8h, ~8h )
Workshop Done: ~8 hours

Tuesday, July 11, 2006


We started on the elevator tonight after cutting the top stabilizer and re-clecoing it back down. About 30 minuts was spent on the stabilizer and about 3 hours on the elevator.

The elevator spar was drilled for the 7H1-7s and the side brackets were cut out. Finding the position of the ribs was an easy job made hard by the wording of the directions.

The side brackets still need to be drilled. According to the manual a tolerance is 1mm, so additional measuring and double checking needs to be done.

Project Status:
Elevator: ~3 hours spent ( 3h )
Horizontal Stabilizer: ~28 hours spent, 3 pieces borked ( 3h, 2h, 2h, 2h, .5h, 1.5h, 3.5h, 1.5h, 5, 4.5, 2h, .5h )
Rudder Done, minus horn : ~16 hours spent, ( ~8h, ~8h )
Workshop Done: ~8 hours

Sunday, July 09, 2006

Quick Arlington report ( Saturday ):

The day was warm for Seattle ( ~85F ) and absolutely clear. Michael Heintz was at the Zenith/QSP booth along with a 601XL and a 701.

Skykits also showed up with a Savannah now sporting jury struts... hmm is that possibly related to the wing failures discussed a few weeks ago on the list?

We ventured over to the Lake Goodwin Splash-In, but only saw a Cessna, a Kitfox and a floating car.

Highlights of the day included a Storch, an Alpha Jet and some daring moves by Kathy Hirtz in a Pitts Special


Arlington Photos, Part 2:


Arlington Photos, Part 3:


Arlington Photos, Part 4:


Arlington Photos, Part 5:


Friday, July 07, 2006

Q: "Why don't you go to bed like a normal human being?"
A: "Because I am de-burring"

We got the top of the horizontal stabilizer skin drilled and deburred tonight. Corrosion protection and the cut for the control lines will finish that up.

Getting the skin tight over the stabilizer was a major pain. Using the rachet straps worked, BUT it was an impossible operation by myself. The piece of wood that was used to protect the overhang would slip and needed to be duct taped into position. The tightening of the straps would cause the stabilizer to move forward. The skin had to be tugged on to get it flush with the front of the spars.

Drilling the skin was also problematic. I had a slight splay out for the two full ribs that attach to both the front and rear spar. While I could measure and feel where the spars were, I still needed to drill some "pilot" holes to double check my measurements, release the skin, adjust the rivet lines, re-tighten and repeat.

Currently I am confused about when the whole thing gets riveted.

Reading through the rest of the tail section I found that the stabilizer doesn't get riveted until after the elevator is done. That is a bit of a buzz kill since I really want to consider the horizontal stabilizer "done" even though I know some more mounting bracketry needs to be placed on it for the mating of the elevator.

Saturday will be spent at the big Arlington fly-in and Sunday will be spent starting the elevator.

Project Status:
Horizontal Stabilizer: 27.5 hours spent, 3 pieces borked ( 3h, 2h, 2h, 2h, .5h, 1.5h, 3.5h, 1.5h, 5, 4.5, 2h )
Rudder Done, minus horn : ~16 hours spent, ( ~8h, ~8h )
Workshop Done: ~8 hours

Tuesday, July 04, 2006

We got the bottom stabilizer skin corrected and riveted today. We used several clamps to make sure the piece was flat and without any twist.

Four and half hours were spent on the correction, de-burring and corrosion protection along with cutting the holes in the skin for the two mounting brackets.


Project Status:
Horizontal Stabilizer: 25.5 hours spent, 3 pieces borked ( 3h, 2h, 2h, 2h, .5h, 1.5h, 3.5h, 1.5h, 5, 4.5 )
Rudder Done, minus horn : ~16 hours spent, ( ~8h, ~8h )
Workshop Done: ~8 hours
The garage was filled with people on Monday. First a coworker came by and lended a hand and observed. A large amount of work got done, most importantly the drilling of the bottom stabilizer skin.

Mark Townsend from Can-Zan came by on his way to Arlington http://www.can-zacaviation.com and gave me some great advise and looked over the stabilizer and gave me some good corrections.

More tools are needed for the corrections, but I should be able to finish the stabilizer this weekend.

Monday, July 03, 2006

Just got back from camping in the Olympic Mountains. Lots of lakes and dams were in the area that are suitable for water landings.