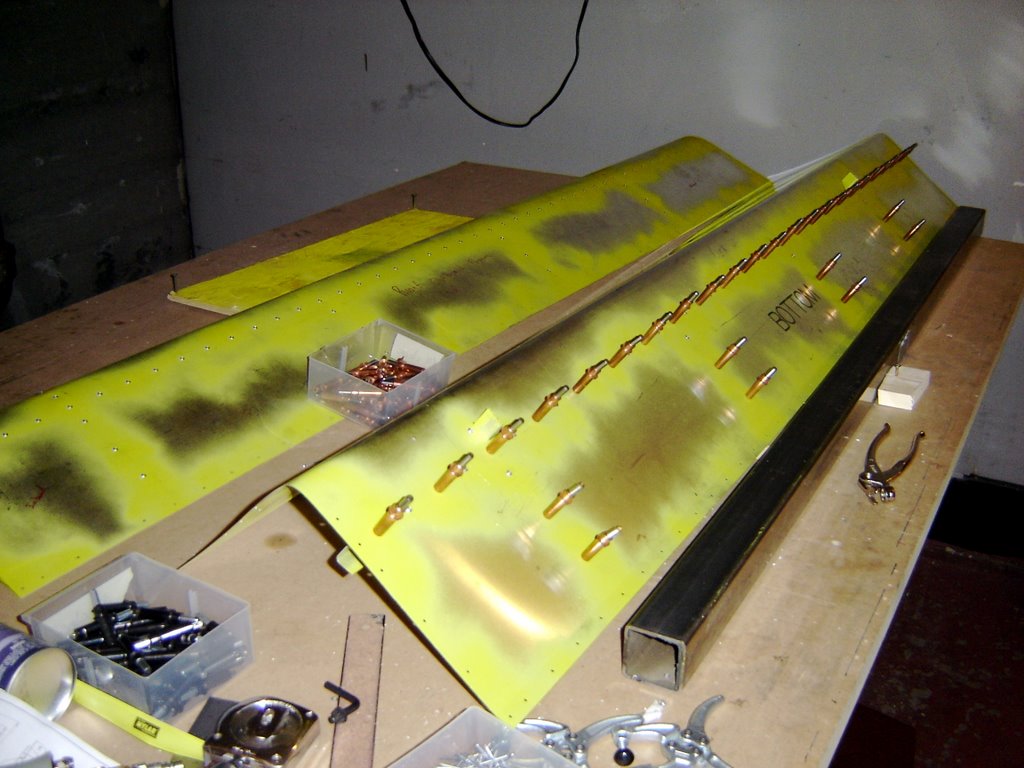
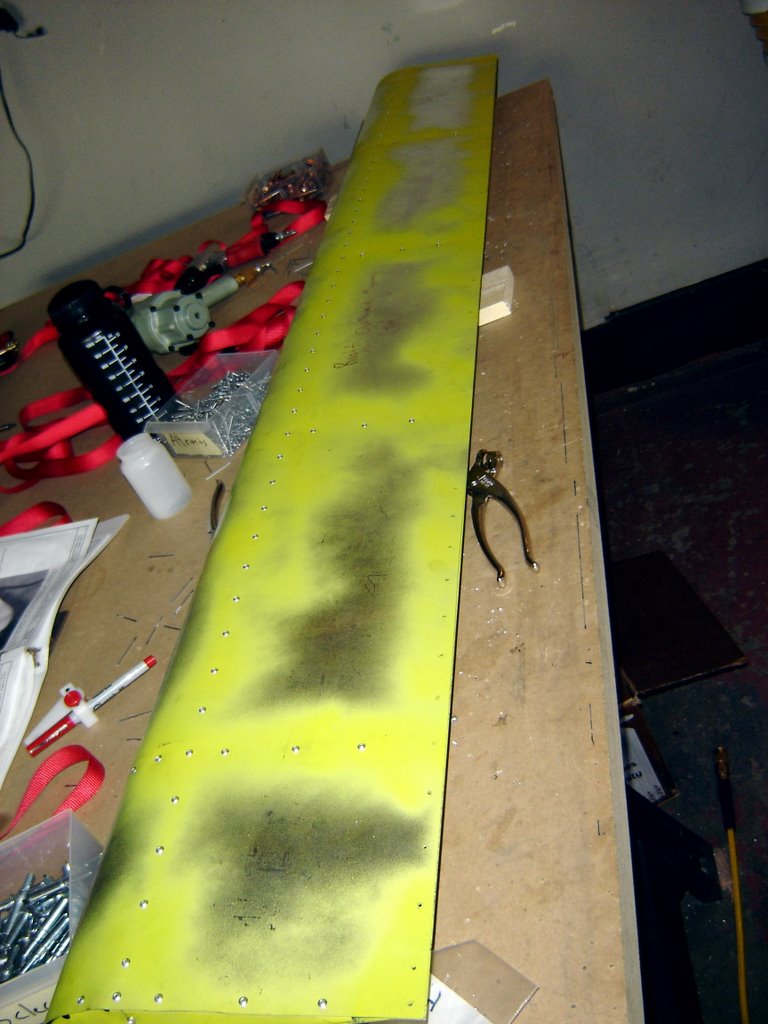
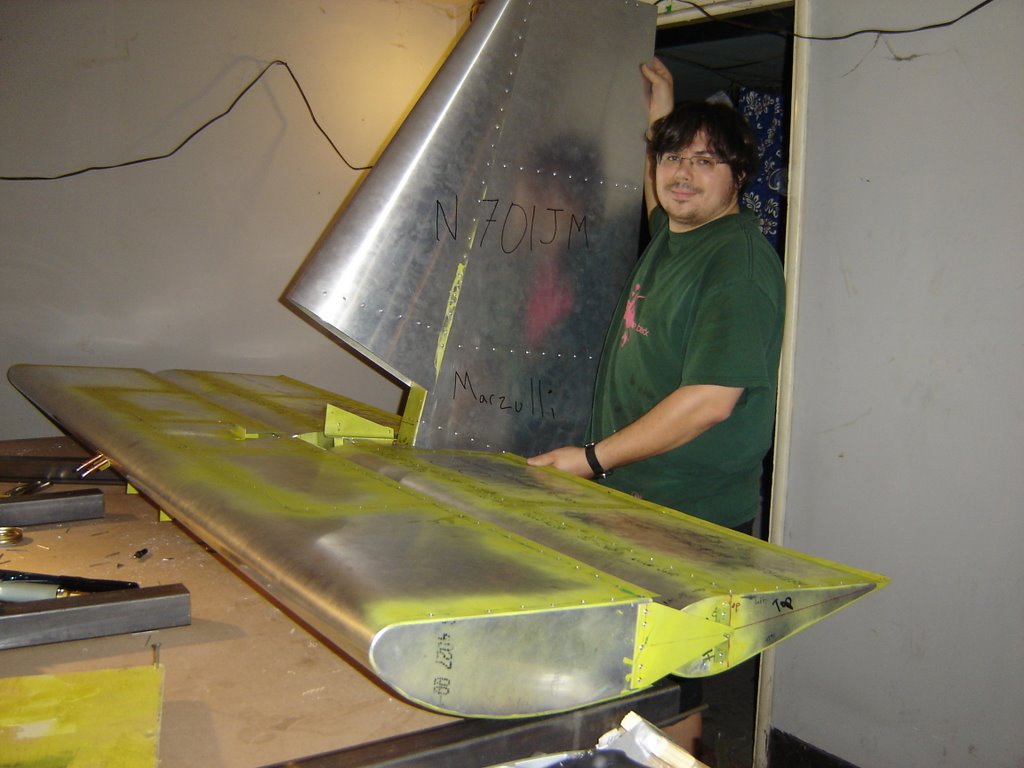
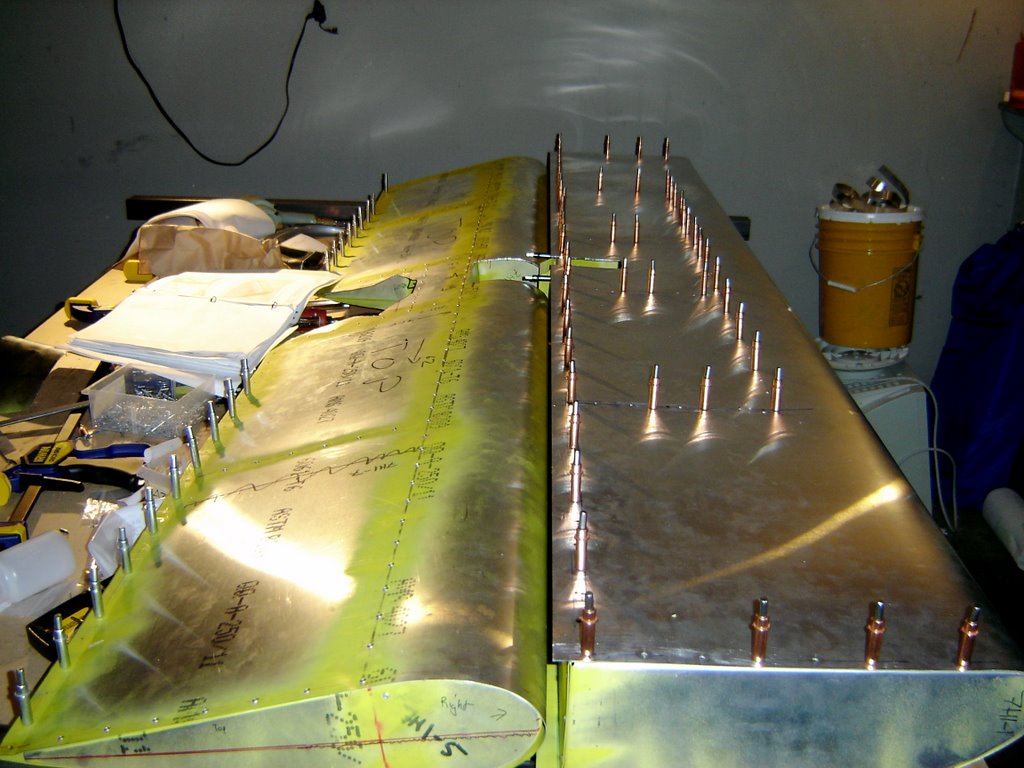
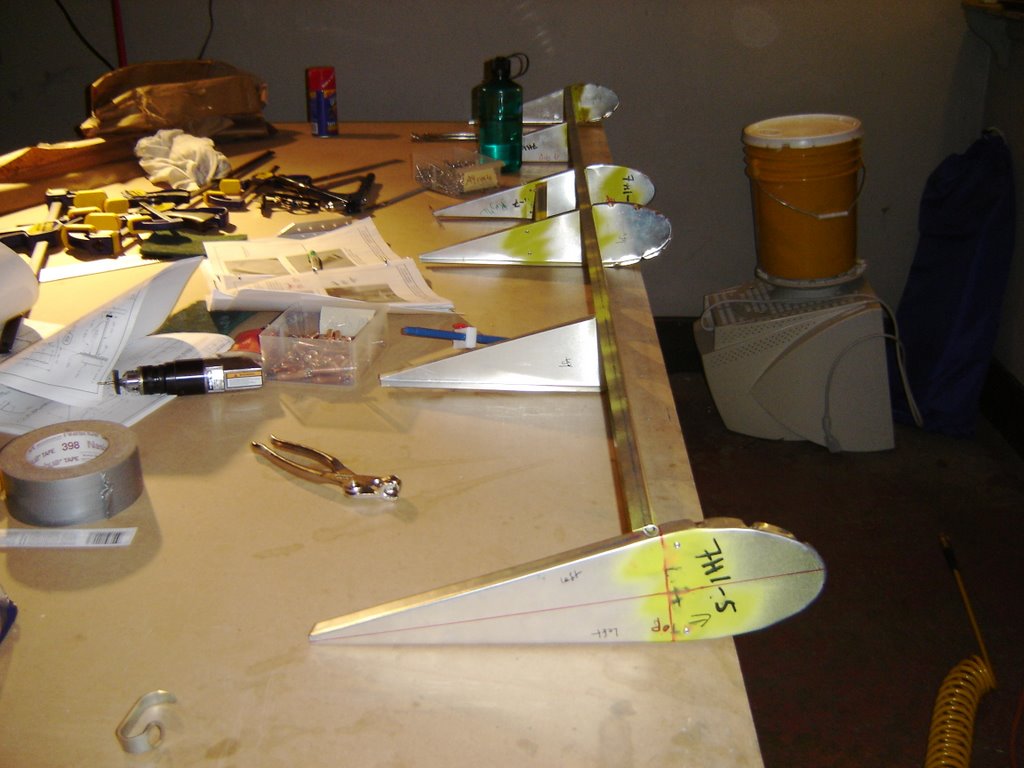
Friday night we got just a little done. We deburred, corrosion protected and riveted the L angles to the left wing.
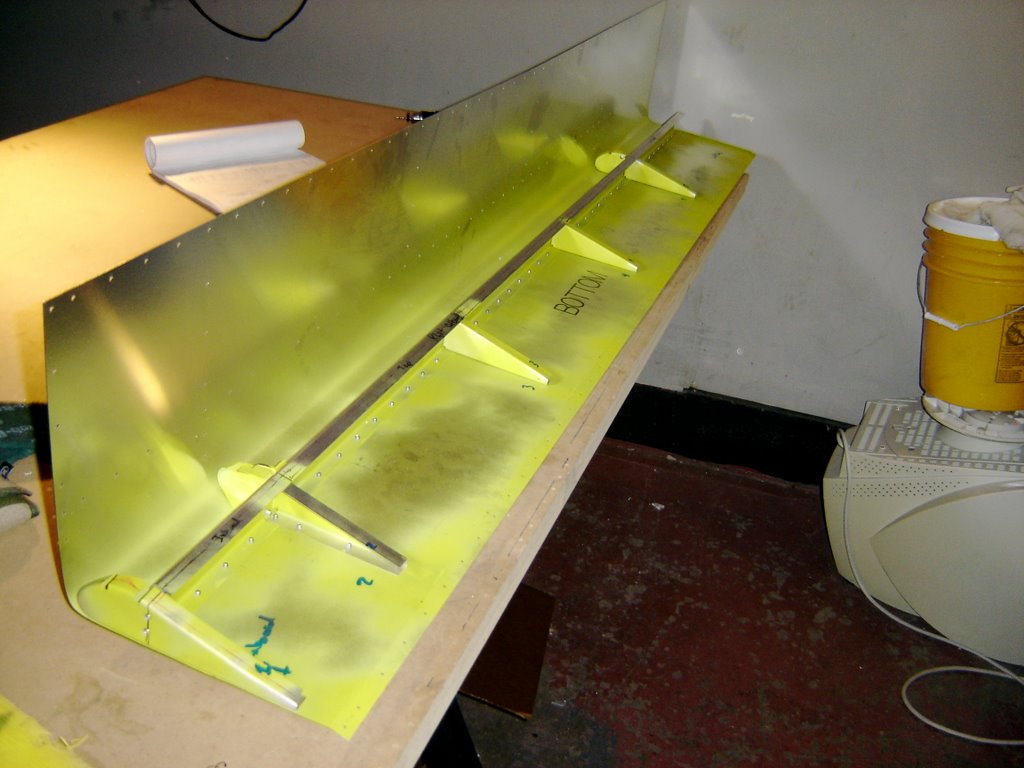
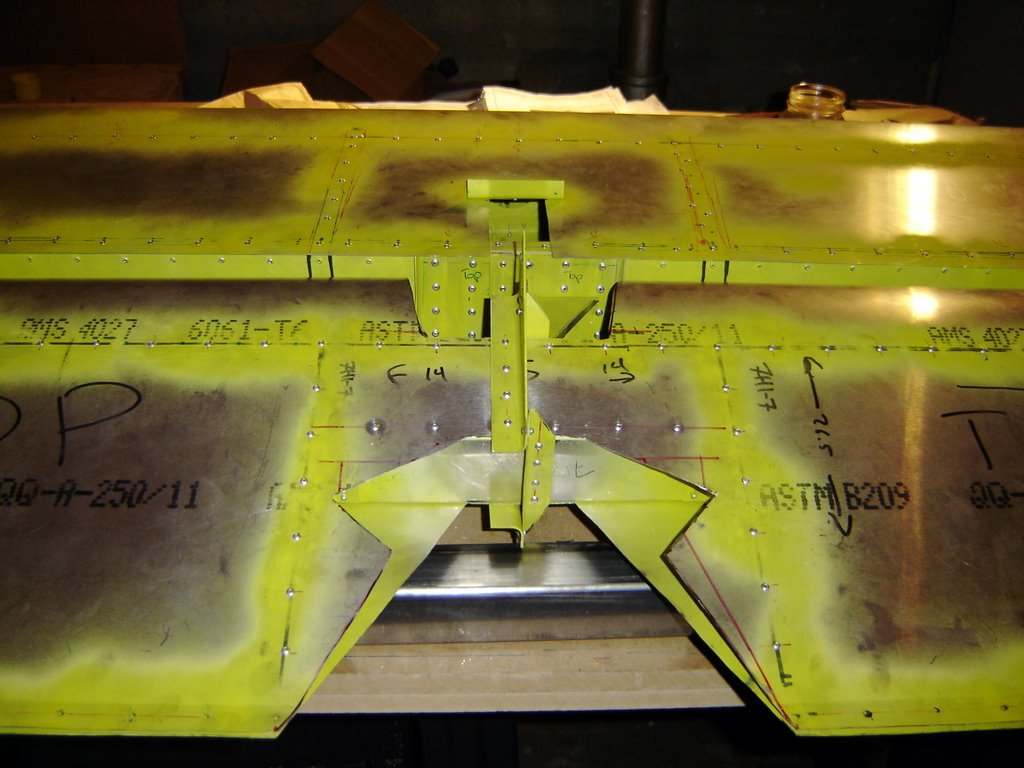
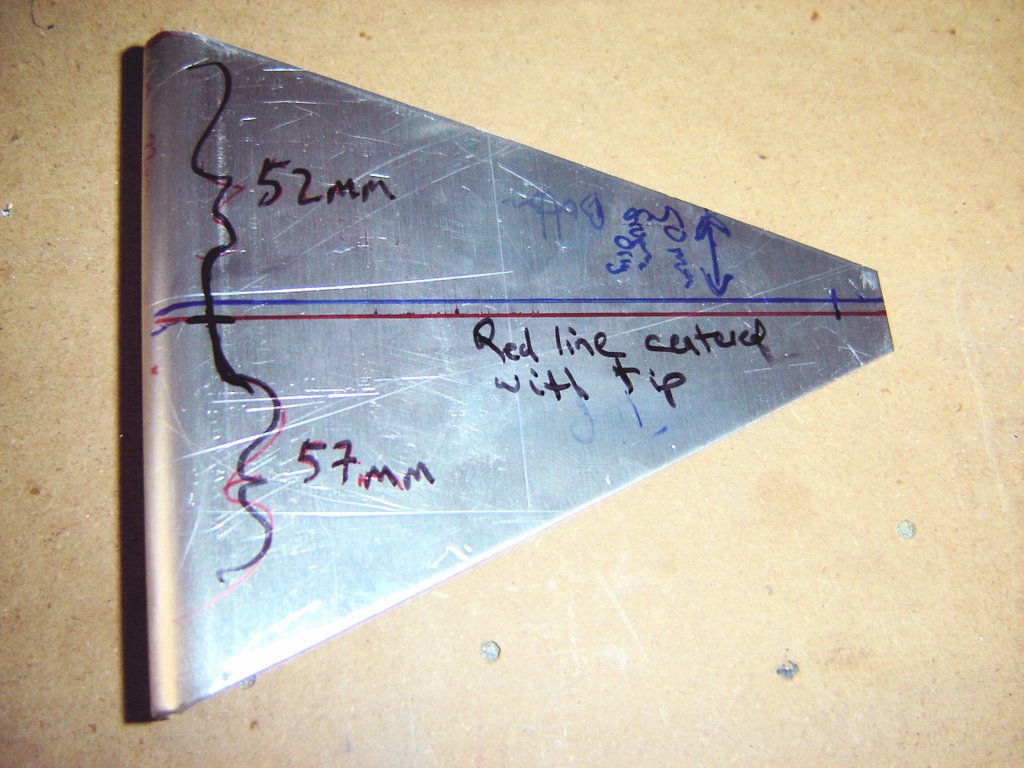
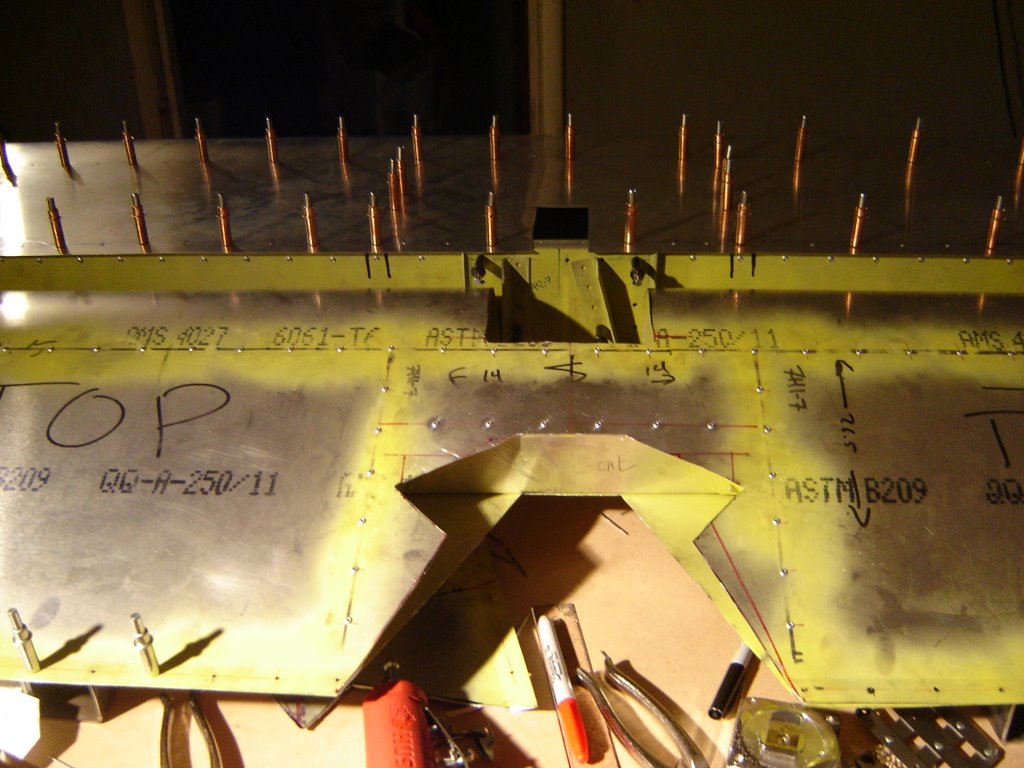
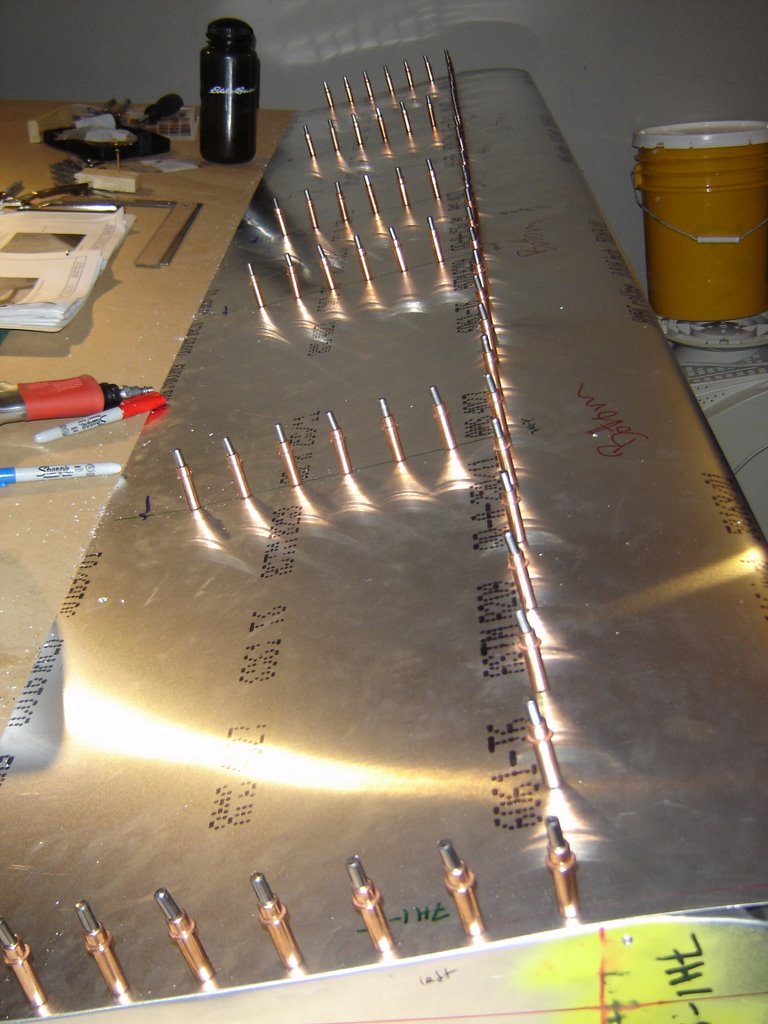
Saturday night was very productive. Not only did we drill the L angles for the right wing, corrosion protect and rivet, but also got the tip ribs drilled into place for the right wing.
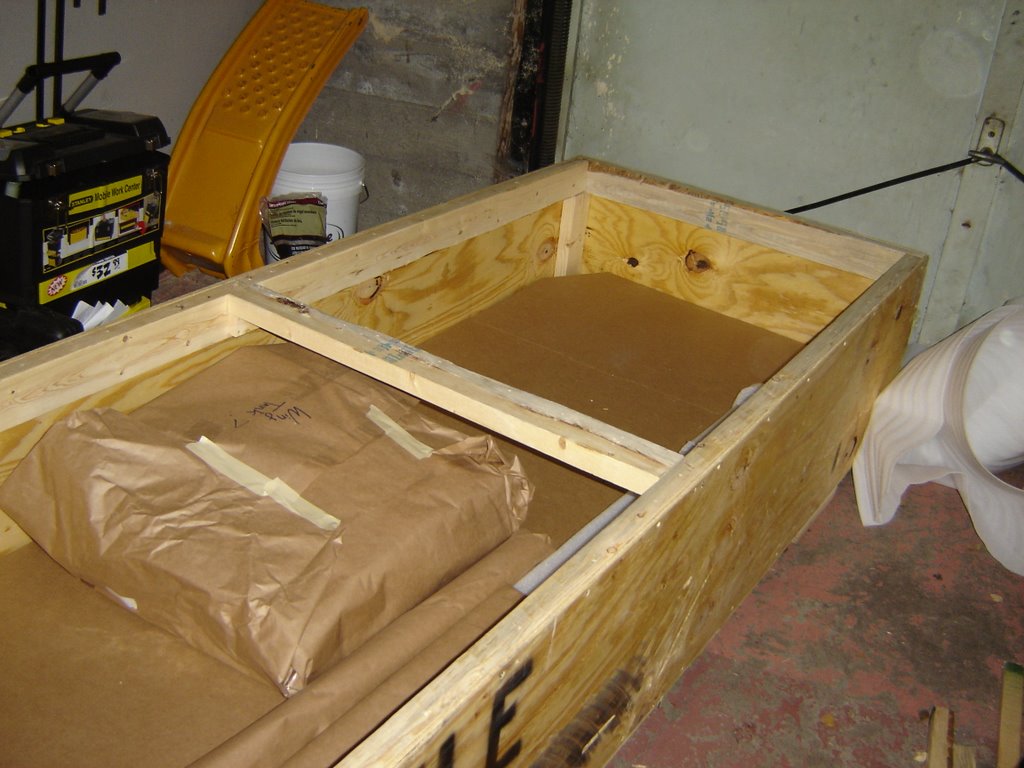
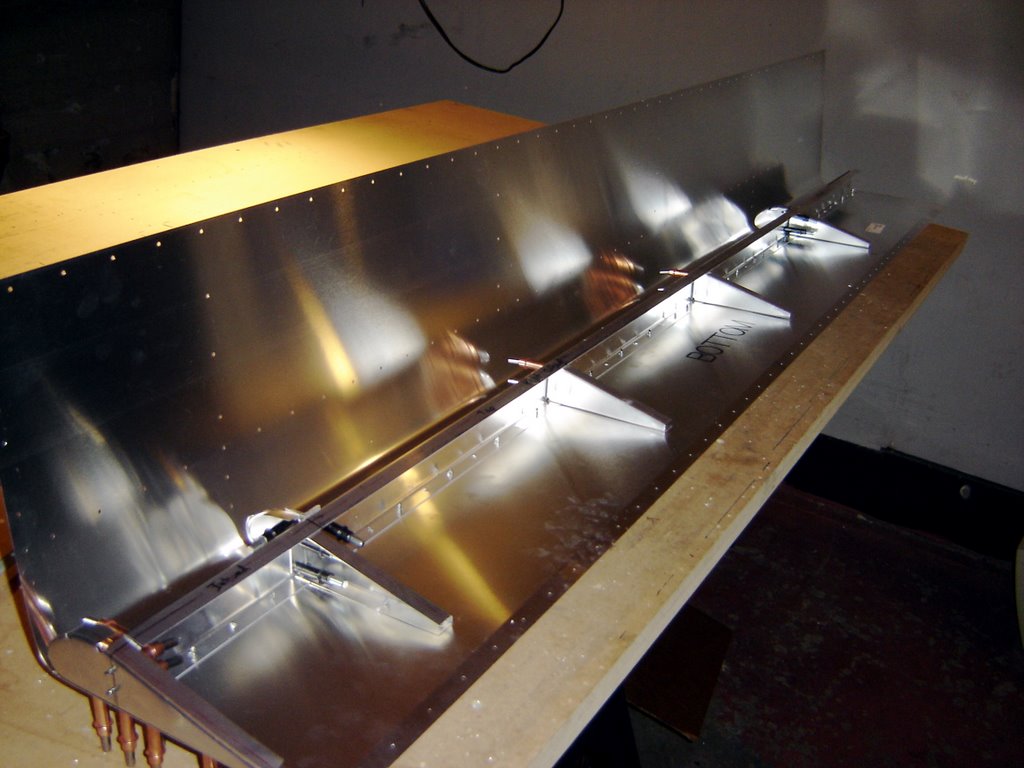
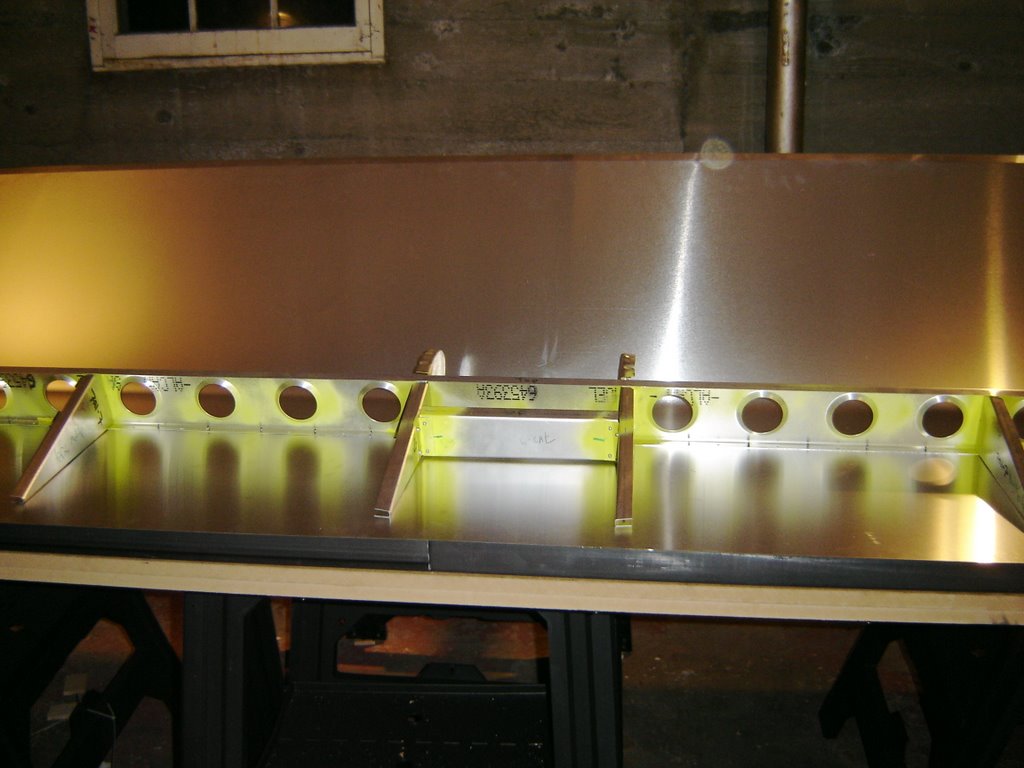
The tip ribs were just a bit of a problem due to the length of the spar and our need to keep the garage door closed for warmth.
We also had a bit of confusion over which spar was the right spar and which was the left. Luckily the builder's manual and some other drawings cleared everything up.
Project Status:
Wings: 5h ( 1h, 1h, 0.5h, 2.5h )
Flaperons: ( DONE! ) 23.5 hours spent ( 3h, 1h, 1h, 1h, 1.5h, 3h, 6h, 3h, 4h, 1h )
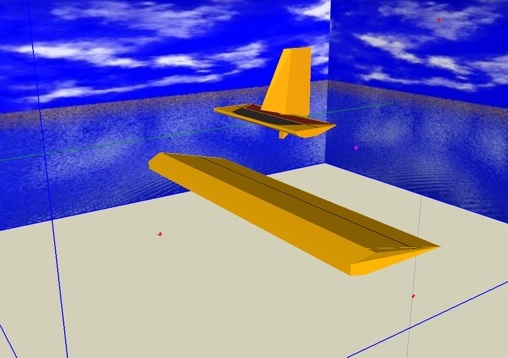
Paint Design: 2 hours spent ( 1h, 1h )
Elevator DONE!: ~31.5 hours spent ( 3h, 1.5h, 3h, .5h, 3.5h, 2h, 4h, 1.5h, 2h, 4.5h, 1h, 6h )
Horizontal Stabilizer DONE!: ~28 hours spent, 3 pieces replaced ( 3h, 2h, 2h, 2h, .5h, 1.5h, 3.5h, 1.5h, 5, 4.5, 2h, .5h )
Rudder DONE!, minus horn : ~16 hours spent, ( ~8h, ~8h )
-----------------------
Total Done: ~106.5 hours