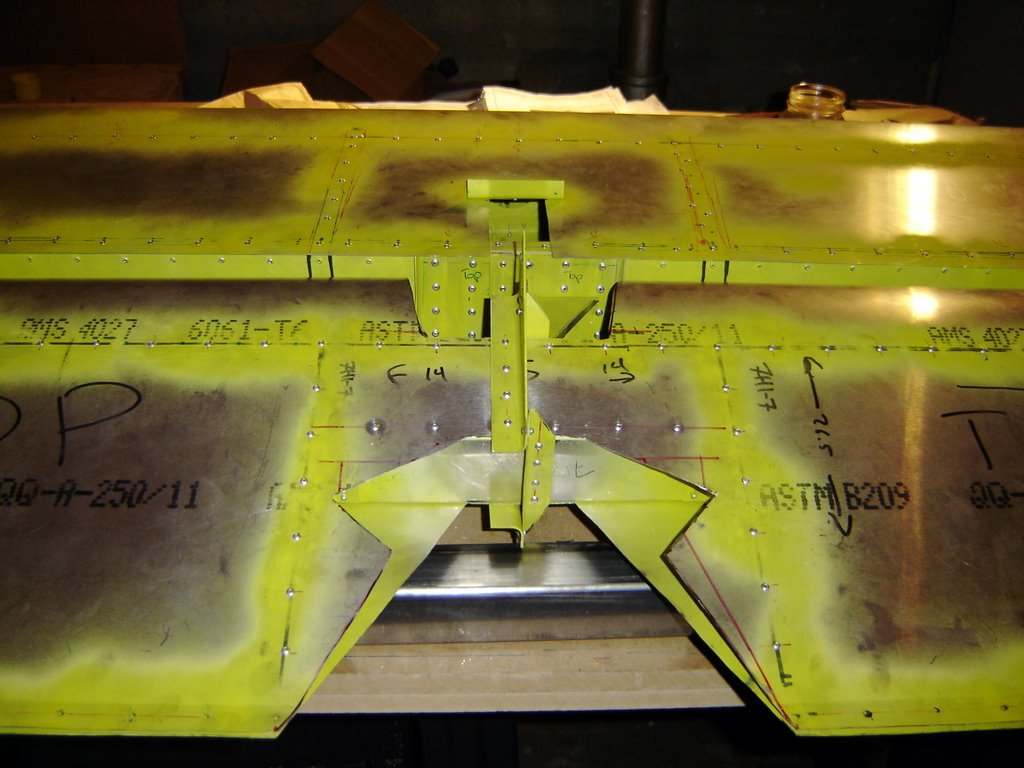
We spent about three hours measuring and drilling the right inboard flaperon skeleton. The skeleton is now riveted, minus the splice rib.
Project Status:
Flaperons: ( right outboard, left outboard DONE! ) 15.5 hours spent ( 3h, 1h, 1h, 1h, 1.5h, 3h, 6h )
Paint Design: 2 hours spent ( 1h, 1h )
Elevator DONE!: ~31.5 hours spent ( 3h, 1.5h, 3h, .5h, 3.5h, 2h, 4h, 1.5h, 2h, 4.5h, 1h, 6h )
Horizontal Stabilizer DONE!: ~28 hours spent, 3 pieces replaced ( 3h, 2h, 2h, 2h, .5h, 1.5h, 3.5h, 1.5h, 5, 4.5, 2h, .5h )
Rudder DONE!, minus horn : ~16 hours spent, ( ~8h, ~8h )
-----------------------
Total Done: ~95 hours
Saturday, September 30, 2006


Monday, September 25, 2006
The air compressor came back from the shop... and since it was still crammed into the back of a Jeep we decided to use the hand riveter to finish the flaperon half. A nail got stuck in the riveter and all attempts to get it out have failed.
We started the right inboard half and got as far as getting the pieces out and placing them on the pre-drilled skin.
Project Status:
Flaperons: ( right outboard, left outboard DONE! ) 12.5 hours spent ( 1h, 1h, 1h, 1.5h, 3h, 6h )
Paint Design: 2 hours spent ( 1h, 1h )
Elevator DONE!: ~31.5 hours spent ( 3h, 1.5h, 3h, .5h, 3.5h, 2h, 4h, 1.5h, 2h, 4.5h, 1h, 6h )
Horizontal Stabilizer DONE!: ~28 hours spent, 3 pieces replaced ( 3h, 2h, 2h, 2h, .5h, 1.5h, 3.5h, 1.5h, 5, 4.5, 2h, .5h )
Rudder DONE!, minus horn : ~16 hours spent, ( ~8h, ~8h )
-----------------------
Total Done: ~92 hours
We started the right inboard half and got as far as getting the pieces out and placing them on the pre-drilled skin.
Project Status:
Flaperons: ( right outboard, left outboard DONE! ) 12.5 hours spent ( 1h, 1h, 1h, 1.5h, 3h, 6h )
Paint Design: 2 hours spent ( 1h, 1h )
Elevator DONE!: ~31.5 hours spent ( 3h, 1.5h, 3h, .5h, 3.5h, 2h, 4h, 1.5h, 2h, 4.5h, 1h, 6h )
Horizontal Stabilizer DONE!: ~28 hours spent, 3 pieces replaced ( 3h, 2h, 2h, 2h, .5h, 1.5h, 3.5h, 1.5h, 5, 4.5, 2h, .5h )
Rudder DONE!, minus horn : ~16 hours spent, ( ~8h, ~8h )
-----------------------
Total Done: ~92 hours
Sunday, September 17, 2006
 We spent about 1.5 hours building Saturday... a grill that is. The building experience of the CH701 is much easier compared to a Char-Broiled grill. Seriously.
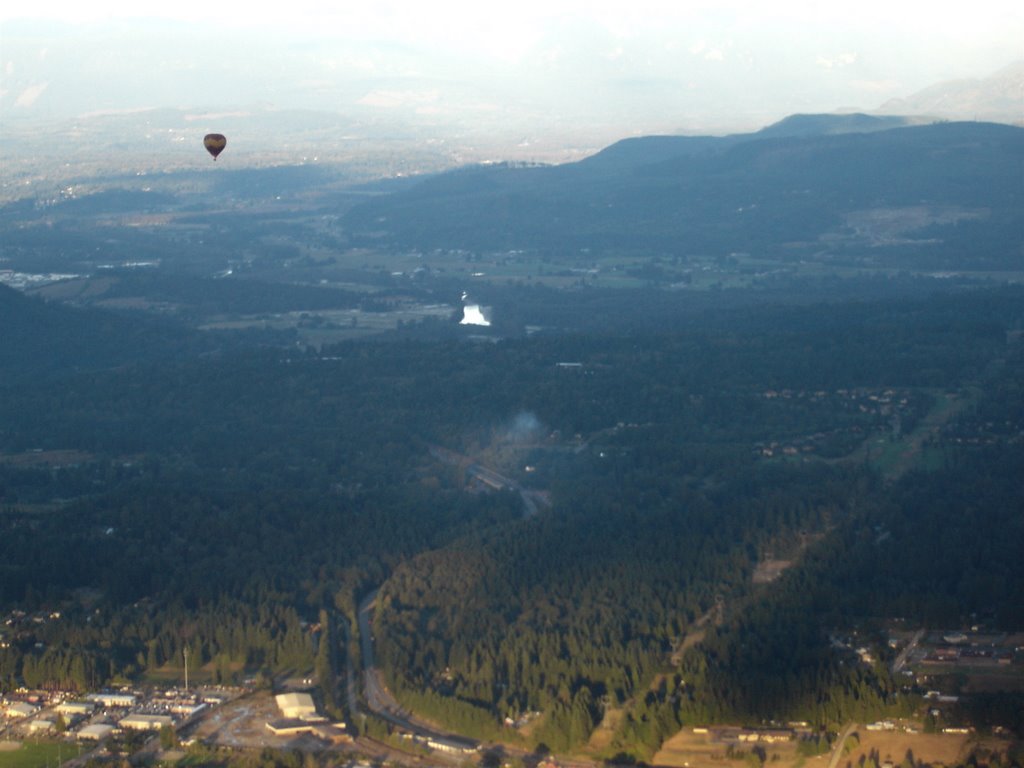
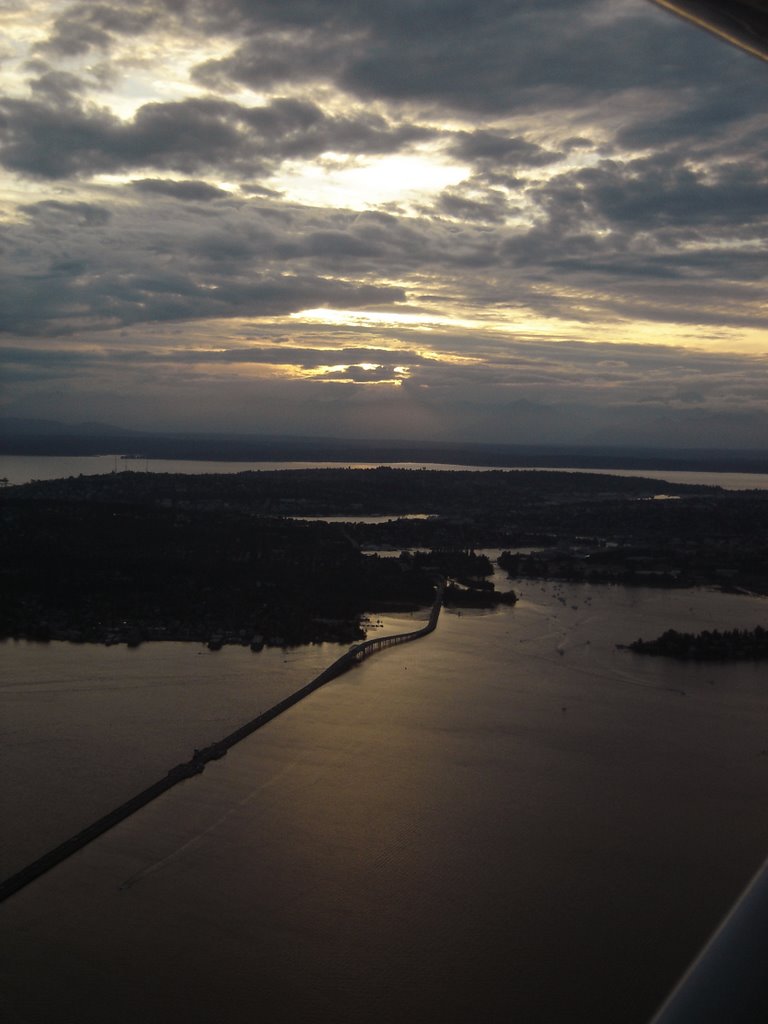
In my never-ending campaign to justify the expense of the Garmin 496 a little bit of aerial recon was performed... on pumpkin patches. We flew up and down the surrounding farm lands looking for patches, and when we found one that looked good we marked the location. The plan is to simply use to GPS to navigate us there in a few weeks. In 1.5 hours of flying we covered the same amount of ground that a whole day's worth of driving would take.


Friday, September 15, 2006
We spent another hour on the left outboard flaperon. The splice rib and associated bracket were drilled into place, the whole assembly was deburred and then protected from corrosion. The splice rib and bracket were riveted into place using the hand riveter.
After some exploration the electric drill does not differ from the air drill in regards to producing burrs. The electric drill is less ideal than the air drill in three main ways. 1) The chuck area is larger and thus much harder to get into tight spaces. 2) The drill is MUCH heavier so when it punches through the metal the chuck hits the metal skin with more force, and thus the protective rubber washers much faster and it is much easier to damage the skin. 3) The drill takes a long time to spool down after use making several seconds of delay required before moving onto the next hole. On the upside the drill generates much less noise.
Project Status:
Flaperons: ( right outboard DONE! ) 11.5 hours spent ( 1h, 1h, 1.5h, 3h, 6h )
Paint Design: 2 hours spent ( 1h, 1h )
Elevator DONE!: ~31.5 hours spent ( 3h, 1.5h, 3h, .5h, 3.5h, 2h, 4h, 1.5h, 2h, 4.5h, 1h, 6h )
Horizontal Stabilizer DONE!: ~28 hours spent, 3 pieces replaced ( 3h, 2h, 2h, 2h, .5h, 1.5h, 3.5h, 1.5h, 5, 4.5, 2h, .5h )
Rudder DONE!, minus horn : ~16 hours spent, ( ~8h, ~8h )
-----------------------
Total Done: ~91 hours
After some exploration the electric drill does not differ from the air drill in regards to producing burrs. The electric drill is less ideal than the air drill in three main ways. 1) The chuck area is larger and thus much harder to get into tight spaces. 2) The drill is MUCH heavier so when it punches through the metal the chuck hits the metal skin with more force, and thus the protective rubber washers much faster and it is much easier to damage the skin. 3) The drill takes a long time to spool down after use making several seconds of delay required before moving onto the next hole. On the upside the drill generates much less noise.
Project Status:
Flaperons: ( right outboard DONE! ) 11.5 hours spent ( 1h, 1h, 1.5h, 3h, 6h )
Paint Design: 2 hours spent ( 1h, 1h )
Elevator DONE!: ~31.5 hours spent ( 3h, 1.5h, 3h, .5h, 3.5h, 2h, 4h, 1.5h, 2h, 4.5h, 1h, 6h )
Horizontal Stabilizer DONE!: ~28 hours spent, 3 pieces replaced ( 3h, 2h, 2h, 2h, .5h, 1.5h, 3.5h, 1.5h, 5, 4.5, 2h, .5h )
Rudder DONE!, minus horn : ~16 hours spent, ( ~8h, ~8h )
-----------------------
Total Done: ~91 hours
Wednesday, September 13, 2006
Slow progress this week due to outside issues including a weekend drive to Eugene.
The bottom of of the left outboard flaperon is riveted. The top was drilled using the new electric drill. The new drill has a very different feel in it's operation. The drill spools up, sits on the metal for a second and then instantly sinks into the metal. The time to spool down the drill takes much longer than the air drill. I haven't deburred yet, so I will not know how using a high RPM / low torque drill will vary in respect to the high torque . lower RPM air drill. My guess is that the holes will be cleaner.
Another building tip about the flaperons: The trailing edges are pre-drilled. The builder's manual says that the top edge of the flaperon may not reach the trailing edge, and just to trim the extra off. The problem is that the pre-drilled holes prevent this and trimming would ruin the skin!
So besides exercising extreme caution in the measuring of the ribs to make the bottom skin match up, I found an interesting technique to make the top skin "work".
After ratcheting down the skin with 2x2's, I slowly used some silver clecos in the trailing edge to "pull" the pre-drilled holes together. Initially it was hard to find holes close enough to start the process and it took another person to help pull and push the skin.
Project Status:
Flaperons: ( right outboard DONE! ) 10.5 hours spent ( 1h, 1.5h, 3h, 6h )
Paint Design: 2 hours spent ( 1h, 1h )
Elevator DONE!: ~31.5 hours spent ( 3h, 1.5h, 3h, .5h, 3.5h, 2h, 4h, 1.5h, 2h, 4.5h, 1h, 6h )
Horizontal Stabilizer DONE!: ~28 hours spent, 3 pieces replaced ( 3h, 2h, 2h, 2h, .5h, 1.5h, 3.5h, 1.5h, 5, 4.5, 2h, .5h )
Rudder DONE!, minus horn : ~16 hours spent, ( ~8h, ~8h )
-----------------------
Total Done: ~90 hours
The bottom of of the left outboard flaperon is riveted. The top was drilled using the new electric drill. The new drill has a very different feel in it's operation. The drill spools up, sits on the metal for a second and then instantly sinks into the metal. The time to spool down the drill takes much longer than the air drill. I haven't deburred yet, so I will not know how using a high RPM / low torque drill will vary in respect to the high torque . lower RPM air drill. My guess is that the holes will be cleaner.
Another building tip about the flaperons: The trailing edges are pre-drilled. The builder's manual says that the top edge of the flaperon may not reach the trailing edge, and just to trim the extra off. The problem is that the pre-drilled holes prevent this and trimming would ruin the skin!
So besides exercising extreme caution in the measuring of the ribs to make the bottom skin match up, I found an interesting technique to make the top skin "work".
After ratcheting down the skin with 2x2's, I slowly used some silver clecos in the trailing edge to "pull" the pre-drilled holes together. Initially it was hard to find holes close enough to start the process and it took another person to help pull and push the skin.
Project Status:
Flaperons: ( right outboard DONE! ) 10.5 hours spent ( 1h, 1.5h, 3h, 6h )
Paint Design: 2 hours spent ( 1h, 1h )
Elevator DONE!: ~31.5 hours spent ( 3h, 1.5h, 3h, .5h, 3.5h, 2h, 4h, 1.5h, 2h, 4.5h, 1h, 6h )
Horizontal Stabilizer DONE!: ~28 hours spent, 3 pieces replaced ( 3h, 2h, 2h, 2h, .5h, 1.5h, 3.5h, 1.5h, 5, 4.5, 2h, .5h )
Rudder DONE!, minus horn : ~16 hours spent, ( ~8h, ~8h )
-----------------------
Total Done: ~90 hours
Thursday, September 07, 2006
The compressor is in the shop. For future reference: Do not buy an "oil less" air compressor. They are loud and light duty.
We bought a 2500RPM VSR drill for about $60 to hold us over. Unfortunately using the hand riveter takes about 10x longer than the pneumatic riveter.
The Matronics Kitfox list has been abuzz about LED lighting, and I am convinced this is the way to go, and I will probably follow this guys instructions: http://www.itsys3.com/kitfox/discover.shtml The current plan is still to use a Dynon Flightdek D180, the Garmin 496, a single com and a transponder. Light, sleek, modern.
We bought a 2500RPM VSR drill for about $60 to hold us over. Unfortunately using the hand riveter takes about 10x longer than the pneumatic riveter.
The Matronics Kitfox list has been abuzz about LED lighting, and I am convinced this is the way to go, and I will probably follow this guys instructions: http://www.itsys3.com/kitfox/discover.shtml The current plan is still to use a Dynon Flightdek D180, the Garmin 496, a single com and a transponder. Light, sleek, modern.
Monday, September 04, 2006
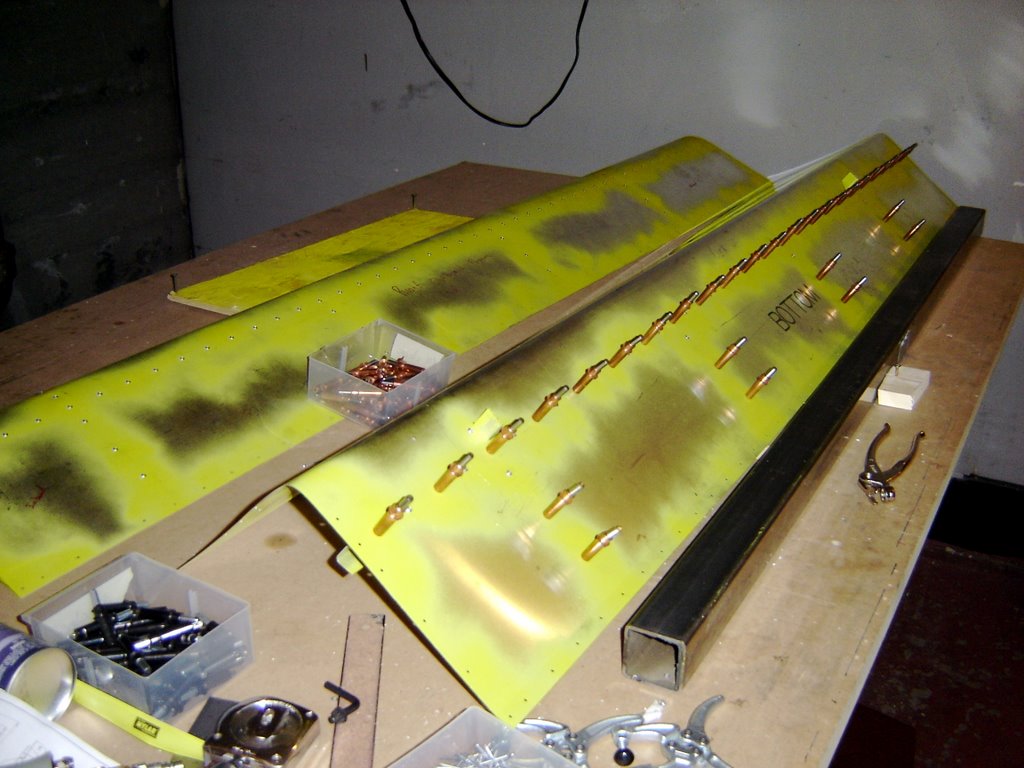 We spent about 6 hours today on the flaperons..
One major build tip for these is when riveting the skeleton, rivet the hinge extrusions last so you have some extra play to sneek the rivet gun to the hole.
Another major tip is to wait to drill and place the splice rib and associated angle. We placed and drilled the angle first and then got major "beer canning" when ratcheting over the top of the skin.
The fiberglass tips fit somewhat poorly. You can even see this is the builder's manual. I played with them for a while and did my best. There is a little gap between the bend in the skin, but it shouldn't matter.
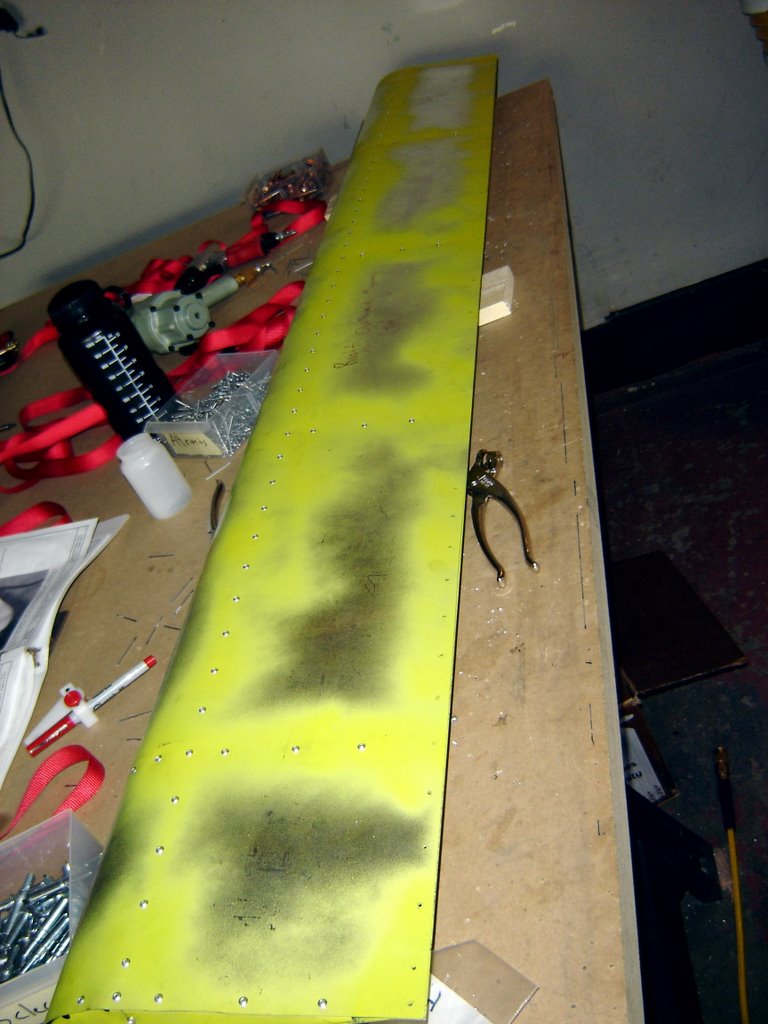
The compressor decided to die today while we were making major progress. At first it wouldn't stop the compressor when it reached 150 psi. Then it wouldn't compress past 120 psi, then 100 psi. Finally we heard a very loud "pop"/"bang" like a firecracker from the compressor followed by a doubling of it's pitch. I shut it off, unplugged it and then drained it's air pressure by using it. I got about half of the bottom of the left outboard flaperon riveted. Luckily we have the hand riveter, but no electric drill.

Project Status:
Flaperons: ( right outboard DONE! ) 10.5 hours spent ( 1.5h, 3h, 6h )
Paint Design: 2 hours spent ( 1h, 1h )
Elevator DONE!: ~31.5 hours spent ( 3h, 1.5h, 3h, .5h, 3.5h, 2h, 4h, 1.5h, 2h, 4.5h, 1h, 6h )
Horizontal Stabilizer DONE!: ~28 hours spent, 3 pieces replaced ( 3h, 2h, 2h, 2h, .5h, 1.5h, 3.5h, 1.5h, 5, 4.5, 2h, .5h )
Rudder DONE!, minus horn : ~16 hours spent, ( ~8h, ~8h )
-----------------------
Total Done: ~89 hours
Sunday, September 03, 2006
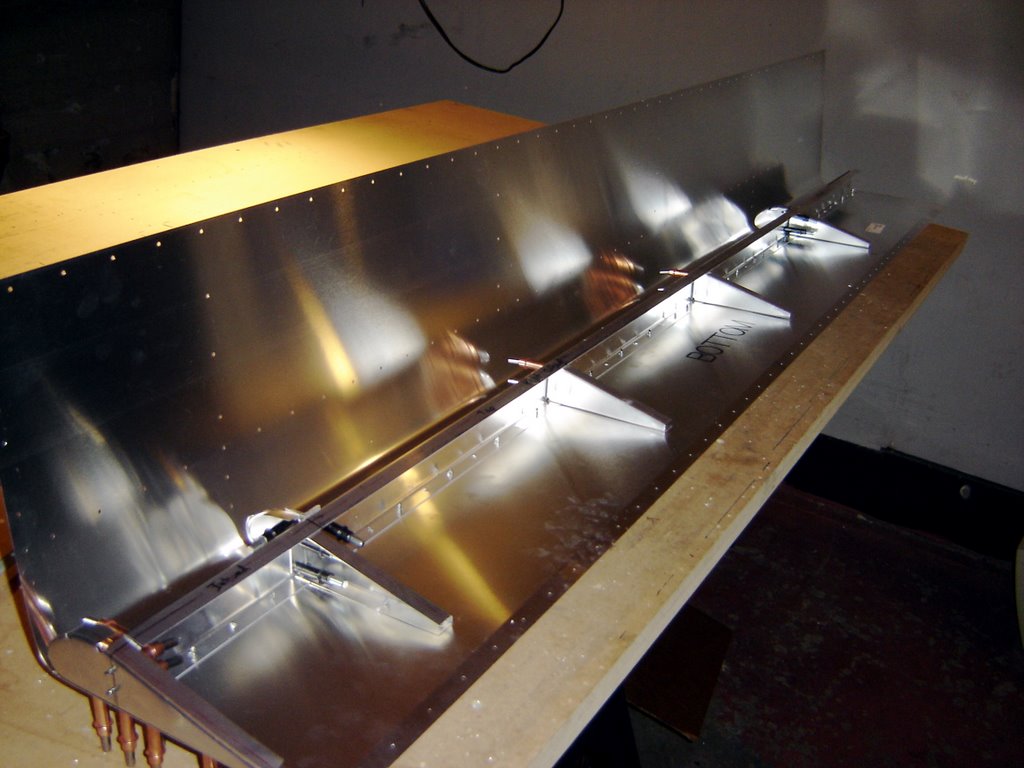
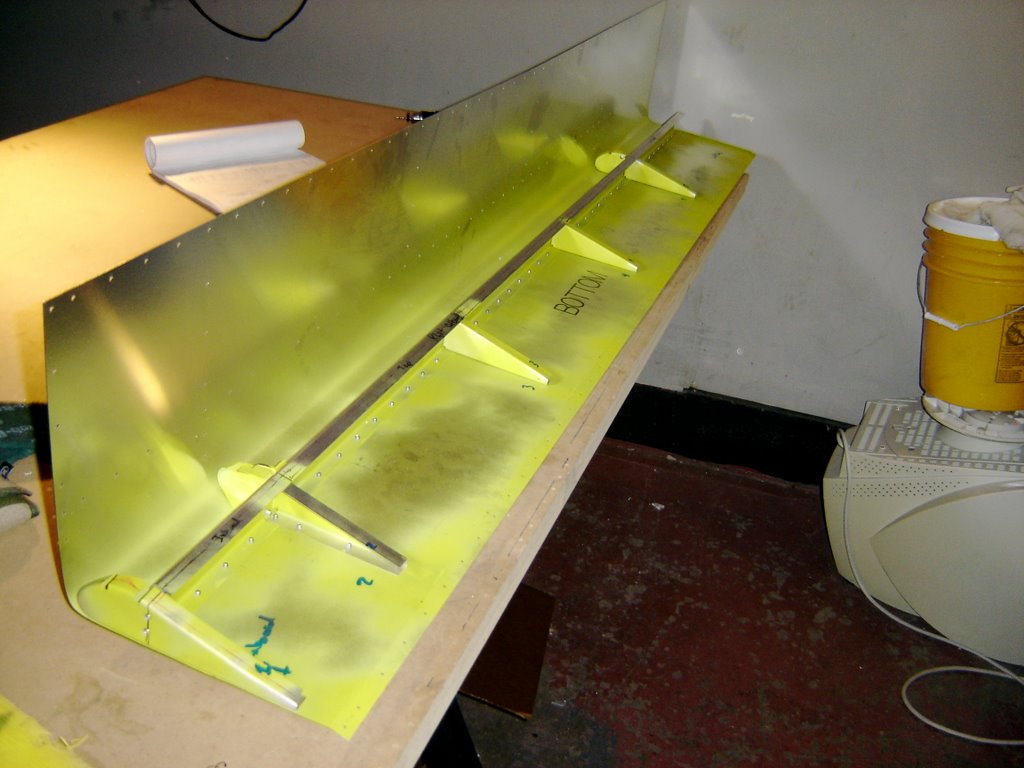 We finally found some time to get back on the project. Between work, friends and the trip to Eugene something had to give.
The right outboard flaperon is coming along quickly. We almost made a deadly mistake a SECOND time... drilling mounting brackets upside down. The holes for the brackets already existed in the skin and cause me to double check my measurements and positions.
My guess is that we have maybe two hours more work on the piece. The left outboard flaperon should take less time, and the inboards seem to be a similar process.
If I can get part of Labor day, one night during the week and one day next weekend, all four pieces should be done by Sept 17. The slats shouldn't take much time, so the wings and tanks need to be ordered soon.

Project Status:
Flaperons: 4.5 hours spent ( 1.5h, 3h )
Paint Design: 2 hours spent ( 1h, 1h )
Elevator DONE!: ~31.5 hours spent ( 3h, 1.5h, 3h, .5h, 3.5h, 2h, 4h, 1.5h, 2h, 4.5h, 1h, 6h )
Horizontal Stabilizer DONE!: ~28 hours spent, 3 pieces replaced ( 3h, 2h, 2h, 2h, .5h, 1.5h, 3.5h, 1.5h, 5, 4.5, 2h, .5h )
Rudder DONE!, minus horn : ~16 hours spent, ( ~8h, ~8h )
-----------------------
Total Done: ~83 hours
Wednesday, August 30, 2006


Tuesday, August 29, 2006
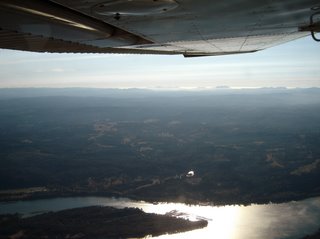
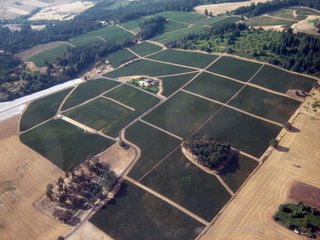
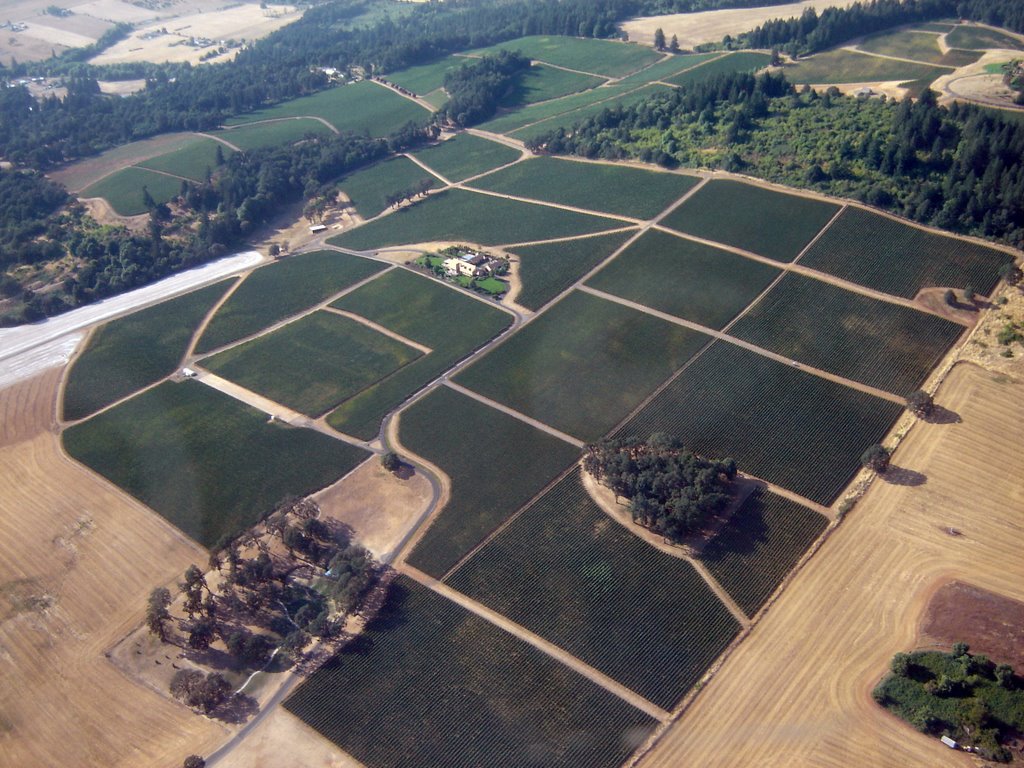
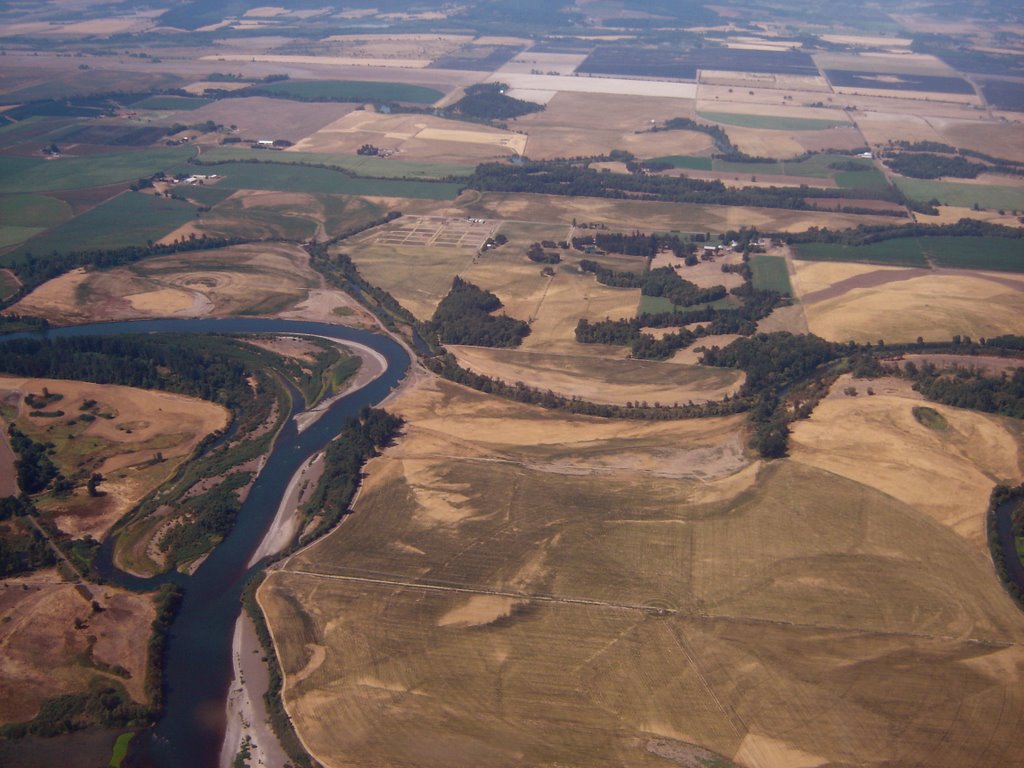
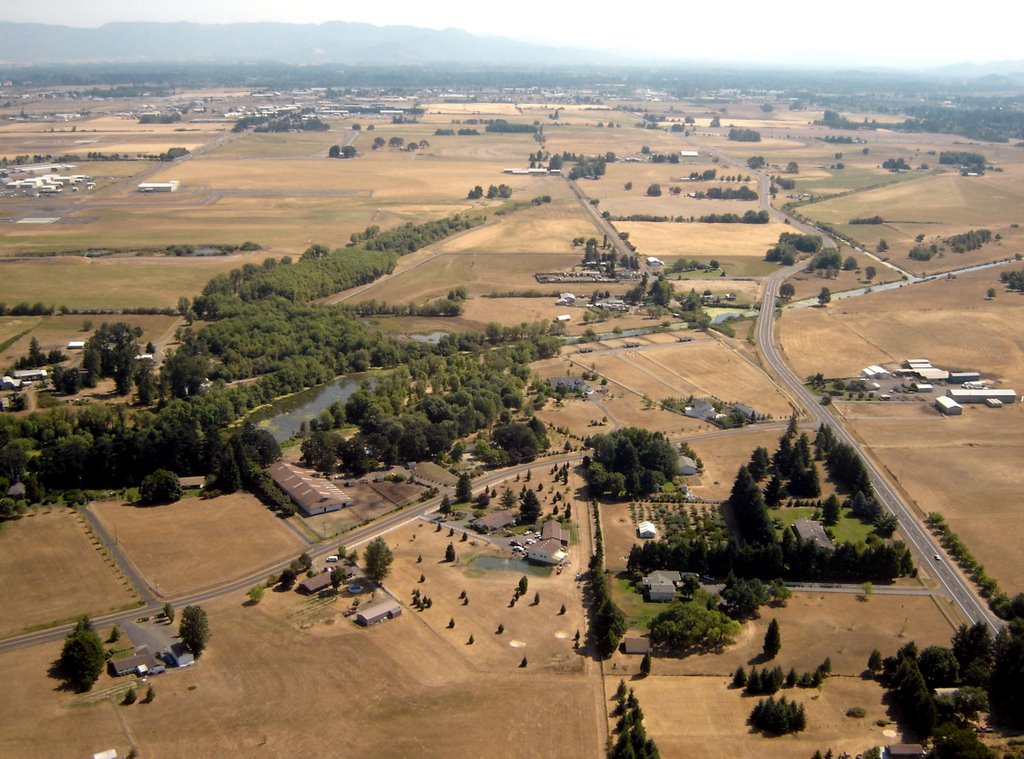
8.6 hours in a C150. That is a long time. Highlights of the trip included visiting the Hughes H4- Hercules and attempting STOL operations that I decided were impossible at gross weight at high density altitude with wind shear in a tight mountain ravine airport.
The entire trip was done over two days. The first day was 4.8 hours and went from Seattle to Portland, fuel in McMinnville, over Eugene, attempted landing at Oakridge and the back to Eugene.
The return was 3.8 hours and was from Eugene, fuel in McMinnville, over Portland and then to Seattle.
Enough good things can not be said about the Garmin 496... especially the XM radio part. Listening to some music on the long legs really helped. The PMA audio panel would automagicaly mute the input audio when talking or receiving transmission. There are a few things that would change about the unit, but a full reviewing post will come later.
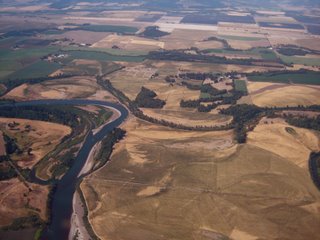
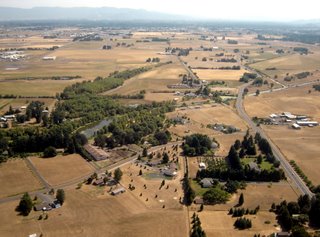
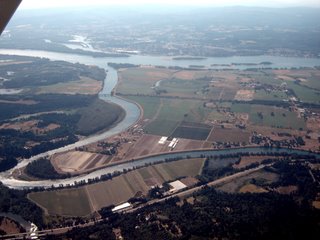
The entire trip was done over two days. The first day was 4.8 hours and went from Seattle to Portland, fuel in McMinnville, over Eugene, attempted landing at Oakridge and the back to Eugene.
The return was 3.8 hours and was from Eugene, fuel in McMinnville, over Portland and then to Seattle.
Enough good things can not be said about the Garmin 496... especially the XM radio part. Listening to some music on the long legs really helped. The PMA audio panel would automagicaly mute the input audio when talking or receiving transmission. There are a few things that would change about the unit, but a full reviewing post will come later.


Wednesday, August 23, 2006
I'm spending most of my time in the office. So, I've had to stick to the builder's equivilent of "hangar flying". I've decided to buy a Garmin 496 for the CH701. In fact, I almost bought one this week for an upcoming cross-country trip to Eugene. In the end I couldn't justify the cost, but I don't want to settle for a 296, so I'm going to wait until Garmin releases a 596 and let the price drop.
Just for fun:
Just for fun:
Hiatus:
Etymology
Derives from Latin “hiatus”, -us, m.: gap; cf. hiare, hio, hiavi (hisco); (χαίνω) έ-χαν-ον, κέχηνα; Old High German ginēn; German 'gähnen' -> "yawn")
Pronunciation
Audio (US)?, file
- Rhymes: -eɪtəs

Noun
hiatus (plural hiatus or hiatuses)
| Singular | Plural |
- A break or pause.
- A gap in a series, making it incomplete.
- (linguistics)
- A syllable break between two vowels, without an intervening consonant. (Compare diphthong.)
- The condition of having such a break.
- Words like reality and naïve contain vowels in hiatus.
- A gap in geological strata.
- A fissure in a bone.
- A small difference in pitch between two musical tones.
- A vacation.
Synonyms
- break (1)
Sunday, August 20, 2006
After a small break we took a final inventory of all the parts in the latest shipment from Zenith. Immediately I was struck by how heavy the skins are for the flaperons and the slats. The skins for the flaperons seems to be almost as heavy as the elevator and the stabilizer combined!
We will be making the flaperons first. I went ahead and cut the 26mm angle off the mounting brackets and pre-drilled the holes into the brackets per the plans.
About one hour was spent on the inventory, and another 1.5 hours spent cutting those angles.
Project Status:
Flaperons: 1.5 hours spent ( 1.5h )
Paint Design: 2 hours spent ( 1h, 1h )
Elevator DONE!: ~31.5 hours spent ( 3h, 1.5h, 3h, .5h, 3.5h, 2h, 4h, 1.5h, 2h, 4.5h, 1h, 6h )
Horizontal Stabilizer DONE!: ~28 hours spent, 3 pieces replaced ( 3h, 2h, 2h, 2h, .5h, 1.5h, 3.5h, 1.5h, 5, 4.5, 2h, .5h )
Rudder DONE!, minus horn : ~16 hours spent, ( ~8h, ~8h )
-----------------------
Total Done: ~80 hours
We will be making the flaperons first. I went ahead and cut the 26mm angle off the mounting brackets and pre-drilled the holes into the brackets per the plans.
About one hour was spent on the inventory, and another 1.5 hours spent cutting those angles.
Project Status:
Flaperons: 1.5 hours spent ( 1.5h )
Paint Design: 2 hours spent ( 1h, 1h )
Elevator DONE!: ~31.5 hours spent ( 3h, 1.5h, 3h, .5h, 3.5h, 2h, 4h, 1.5h, 2h, 4.5h, 1h, 6h )
Horizontal Stabilizer DONE!: ~28 hours spent, 3 pieces replaced ( 3h, 2h, 2h, 2h, .5h, 1.5h, 3.5h, 1.5h, 5, 4.5, 2h, .5h )
Rudder DONE!, minus horn : ~16 hours spent, ( ~8h, ~8h )
-----------------------
Total Done: ~80 hours
Thursday, August 17, 2006
Is this thing on? tap, tap... tap, tap...
The blog was upgraded to the new beta version of Blogger today. If anyone has problems with the page let me know via email or comments.
Upgrading allowed a massive cleanup to the HTML/CSS code template that I had heavily modified. The new system also allows for much easier addition, movement, editing and subtraction of the embeded HTML in the sidebar.
Posts also now can get tagged with a few words that describe the nature of the post like "blog", "vacation", "construction tip", ect. This should make it easier for people to filter out stuff that isn't directly construction related. In addition, the archives widget is now more useful.
The layout is going to get tweaked over the next several days. Please leave feedback about what you like and hate.
The blog was upgraded to the new beta version of Blogger today. If anyone has problems with the page let me know via email or comments.
Upgrading allowed a massive cleanup to the HTML/CSS code template that I had heavily modified. The new system also allows for much easier addition, movement, editing and subtraction of the embeded HTML in the sidebar.
Posts also now can get tagged with a few words that describe the nature of the post like "blog", "vacation", "construction tip", ect. This should make it easier for people to filter out stuff that isn't directly construction related. In addition, the archives widget is now more useful.
The layout is going to get tweaked over the next several days. Please leave feedback about what you like and hate.
Wednesday, August 16, 2006
I trimmed about 10mm from the gusset. Now the full range of motion on the elevator is defined by the horns hitting each other, so about 45 degrees each way.
Last night my neighborhood had a block party. This was a belated event from the "Neighborhood Night Out" that happened on the 1rst.
My place is on a small block in the NE corner of Ballard. It's fairly quite with many long time residents. Well as the new people, we were asked which house was ours. My response was normally something like "The house with all the strange construction noises". Based on the AOPA, EAA, SPA, and BFI stickers many had already figured out that I was a pilot, but hadn't realized what the noise was.
I got the normal questions and responses like: "Like a remote controlled plane?", "That's legal?", "How will you fit it in your garage?", and so on. In the end about 15 neighbors ( at once ) ended up in my garage to see the project. I tried to answers everyone's questions about the tools, materials and inspection process.
In the end a number of people expressed interest in flying and in experimental aviation. Hopefully more people will pop their heads into the garage.
It was a good experience, especially since I missed the Eastside EAA meeting.
Last night my neighborhood had a block party. This was a belated event from the "Neighborhood Night Out" that happened on the 1rst.
My place is on a small block in the NE corner of Ballard. It's fairly quite with many long time residents. Well as the new people, we were asked which house was ours. My response was normally something like "The house with all the strange construction noises". Based on the AOPA, EAA, SPA, and BFI stickers many had already figured out that I was a pilot, but hadn't realized what the noise was.
I got the normal questions and responses like: "Like a remote controlled plane?", "That's legal?", "How will you fit it in your garage?", and so on. In the end about 15 neighbors ( at once ) ended up in my garage to see the project. I tried to answers everyone's questions about the tools, materials and inspection process.
In the end a number of people expressed interest in flying and in experimental aviation. Hopefully more people will pop their heads into the garage.
It was a good experience, especially since I missed the Eastside EAA meeting.
Monday, August 14, 2006

I heard back from Zenith builder support today. For some reason my hinge hole is closer to the gusset bracket than it should be. I measured exactly 135mm from the center hinge bracket flange end, but I didn't verify the measurments of the gusset. According to Caleb the factory demo plane has 11mm from 7H5-3 to the edge of 7H5-4. So I'll trim about 10mm from the gusset and perhaps add a doubler to the gusset. Also according to Caleb, trimming the gusset is not an abnormal step to take to allow full motion.
It also turns out that you need to drill the holes for the cotter pins on the outboard hinge pins. I'll have to drill out the rivets ( getting those out of the elevator will be a pain! ) and then conscript a drill press to make a 1/16th" hole.
Saturday, August 12, 2006
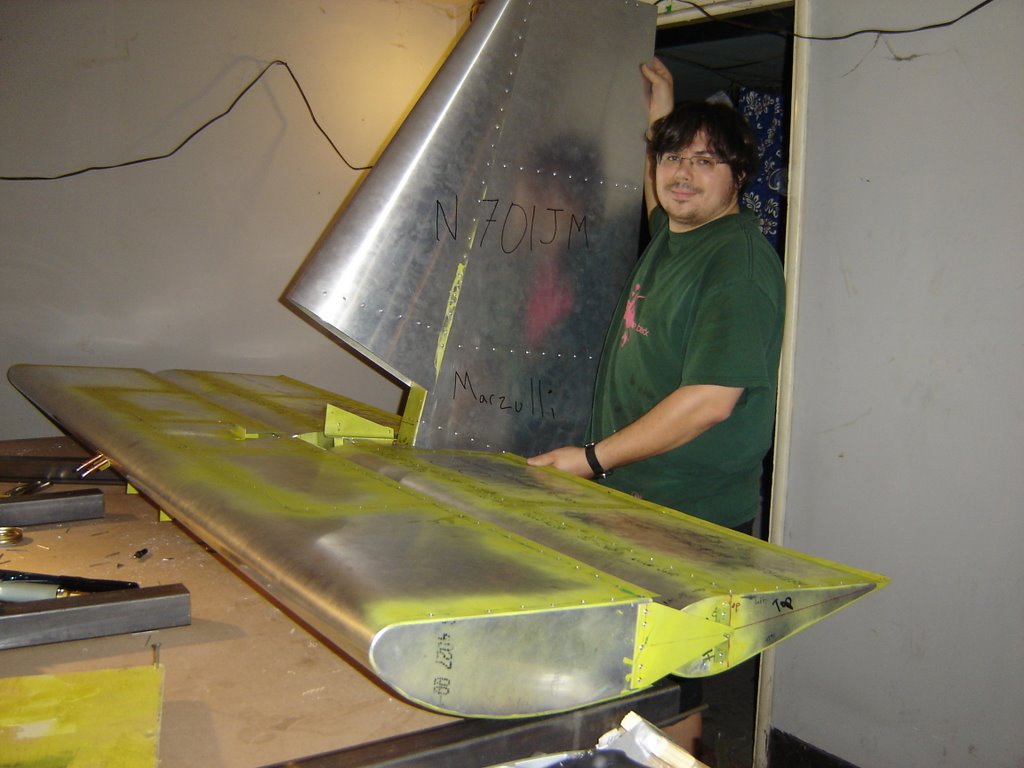
The empennage is riveted. A few small questions still remain. First the hinge pins do not seem to have holes for the cotter pins. The second question is about which side the center hinge bracket goes in relation to 7H5-3 ( horn angle ). If the bracket is on the outside then the upward elevator motion is interrupted by 7H5-4 ( center hinge gusset ). If the bracket is moved to the inside then the elevator is slightly out of position and more of the center elevator hinge will have to be removed to achieve full movement.
In total I spent about six hours working on the plane and another hour playing with Sketchup and the paint job.
Of course this photo was taken at the end of the six hours... and at about 11pm.
Next up flaperons!
Project Status:
Paint Design: 2 hour spent ( 1h, 1h )
Elevator DONE!: ~31.5 hours spent ( 3h, 1.5h, 3h, .5h, 3.5h, 2h, 4h, 1.5h, 2h, 4.5h, 1h, 6h )
Horizontal Stabilizer DONE!: ~28 hours spent, 3 pieces replaced ( 3h, 2h, 2h, 2h, .5h, 1.5h, 3.5h, 1.5h, 5, 4.5, 2h, .5h )
Rudder DONE!, minus horn : ~16 hours spent, ( ~8h, ~8h )
-----------------------
Total Done: ~78.5 hours
Friday, August 11, 2006
I took delivery of the flaperon / slats kit on Wednesday. The crate is still closed and an inventory has not been taken. While waiting for the crate I worked on the hinges for about an hour and cleaned up the garage to make room for the new crate.
When I skinned the elevator I went ahead and drilled the elevator channels not realizing that the horn brackets would go there. When it came time to put the horn brackets on I needed to drill out a few rivets and fit the brackets through the existing holes. That worked for the bottom, but for all four brackets to join nicely I had to drill new holes into the spar. One of the holes was a little close to the new hole, so I fashioned a "patch" that goes over the the previous holes and restores any strength that may have been lost without affecting the fit of the horn brackets.
Initially I thought I borked the newly received center hinge by drilling the hinge hole too early. I had measured the 135mm from the bracket flange tip up the centerline. When I did a quick test fit against the bracket it attaches too I freaked out when the hinge hit against the elevator spar and was at least 1/4" away from the desired hole.. After calming down a little I realized what needed to be done was the following procedure: I clecoed the center hinge to the bracket on the outside of the flange and rotated the brackets. While rotating I used a Sharpie to determine the area that needed to be ground away. After fifteen minutes of using the rasp I had the correct fit.
The next step is to deal with the outside hinges and make sure everything is co-linear. Yeah.
I hope to have a completed tail section on Saturday with the flaperons starting on Sunday.
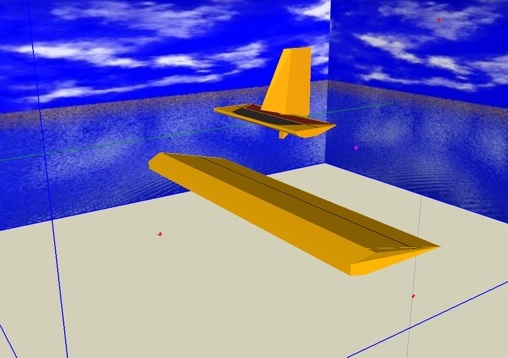
Google Sketchup is a cool tool I've used in the past. When we moved I spent a few hours with it and made a mockup of our new dwelling along with the major furniture with real measurements. This worked better than the old graph paper alternative because the digital objects gave a better sense of volume. I'm taking the same approach to designing my paint scheme. I spent about an hour making a digital elevator and horizontal stabilizer. The next step is to create a texture to be applied over the base "paint". The paint scheme I have in my head is fairly grand. Spending at least 400 hours on construction and then not taking that extra step to make my plane stand out is inconceivable to me. I want to make sure that the paint job looks good from several conceivable angles and translates well.
Project Status:
Paint Design: 1 hour spent ( 1h )
Elevator: ~25.5 hours spent ( 3h, 1.5h, 3h, .5h, 3.5h, 2h, 4h, 1.5h, 2h, 4.5h, 1h )
Horizontal Stabilizer: ~28 hours spent, 3 pieces replaced ( 3h, 2h, 2h, 2h, .5h, 1.5h, 3.5h, 1.5h, 5, 4.5, 2h, .5h )
Rudder Done, minus horn : ~16 hours spent, ( ~8h, ~8h )
-----------------------
Total Done: ~71.5 hours
Sunday, August 06, 2006
I spent a total of 4.5 hours getting the elevator horns drilled along with the center hinge bracket. The new Zenith bracket was the right size!
Luckily there was some scrap aluminum to make the cable template out of.
The next steps are the side brackets, the mating of the elevator and stabilizer and the final riveting.
Saturday was spent getting my night currency back. The last time I logged night hours was November 2005. While I was practicing fireworks were being shot from Lake Washington in celebration of Seafair. The explosions were probably just a little over two miles away, and at about the same altitude.
Project Status:
Elevator: ~24.5 hours spent ( 3h, 1.5h, 3h, .5h, 3.5h, 2h, 4h, 1.5h, 2h, 4.5h )
Horizontal Stabilizer: ~28 hours spent, 3 pieces replaced ( 3h, 2h, 2h, 2h, .5h, 1.5h, 3.5h, 1.5h, 5, 4.5, 2h, .5h )
Rudder Done, minus horn : ~16 hours spent, ( ~8h, ~8h )
-----------------------
Total Done: ~69.5 hours
Luckily there was some scrap aluminum to make the cable template out of.
The next steps are the side brackets, the mating of the elevator and stabilizer and the final riveting.
Saturday was spent getting my night currency back. The last time I logged night hours was November 2005. While I was practicing fireworks were being shot from Lake Washington in celebration of Seafair. The explosions were probably just a little over two miles away, and at about the same altitude.
Project Status:
Elevator: ~24.5 hours spent ( 3h, 1.5h, 3h, .5h, 3.5h, 2h, 4h, 1.5h, 2h, 4.5h )
Horizontal Stabilizer: ~28 hours spent, 3 pieces replaced ( 3h, 2h, 2h, 2h, .5h, 1.5h, 3.5h, 1.5h, 5, 4.5, 2h, .5h )
Rudder Done, minus horn : ~16 hours spent, ( ~8h, ~8h )
-----------------------
Total Done: ~69.5 hours
Saturday, August 05, 2006
Hurray! I got a new center hinge bracket in the mail today. A quick check with a nearby ruler indicates it may be correctly formed even!
The part came with a few lines on it, so I'm guessing Zenith did a little extra quality assurance on this one.
The Matronic's list has been hopping with talk about Zenith and customer care. Currently I have yet to have any bad experiences with them, and the fact that a new part was on it's way a day after I talked to Caleb really shows how committed they are to supporting the product.
The part came with a few lines on it, so I'm guessing Zenith did a little extra quality assurance on this one.
The Matronic's list has been hopping with talk about Zenith and customer care. Currently I have yet to have any bad experiences with them, and the fact that a new part was on it's way a day after I talked to Caleb really shows how committed they are to supporting the product.
Friday, August 04, 2006

Zenith called and told me that slats and flaperons are on the way. A few days ago I printed out the flaperon construction manual and became worried that I should have built the wing first. It turns out that building the flaperons first is possible. Caleb gave me advise and I can procede as intended.
I'm still waiting on the replacement hinge bracket, and I'm guessing that it will arrive after the slats. Oh well.
Work is getting crunchy so finding time to build durring 12+ hour work days is getting harder.
Seafair is this weekend, so I'll be on high alert and pay attention to TFRs. The last thing I want is to get shot down BY a Blue Angel.
Bogey's air speed not sufficient for intercept. Suggest we get out and walk.
Subscribe to:
Posts (Atom)